How to Detect Known Malware in Your Supply Chain
Understand Chainsaw's malware index powered by OpenSSF data, review malware detections, and configure automatic blocking of malicious packages.
Overview
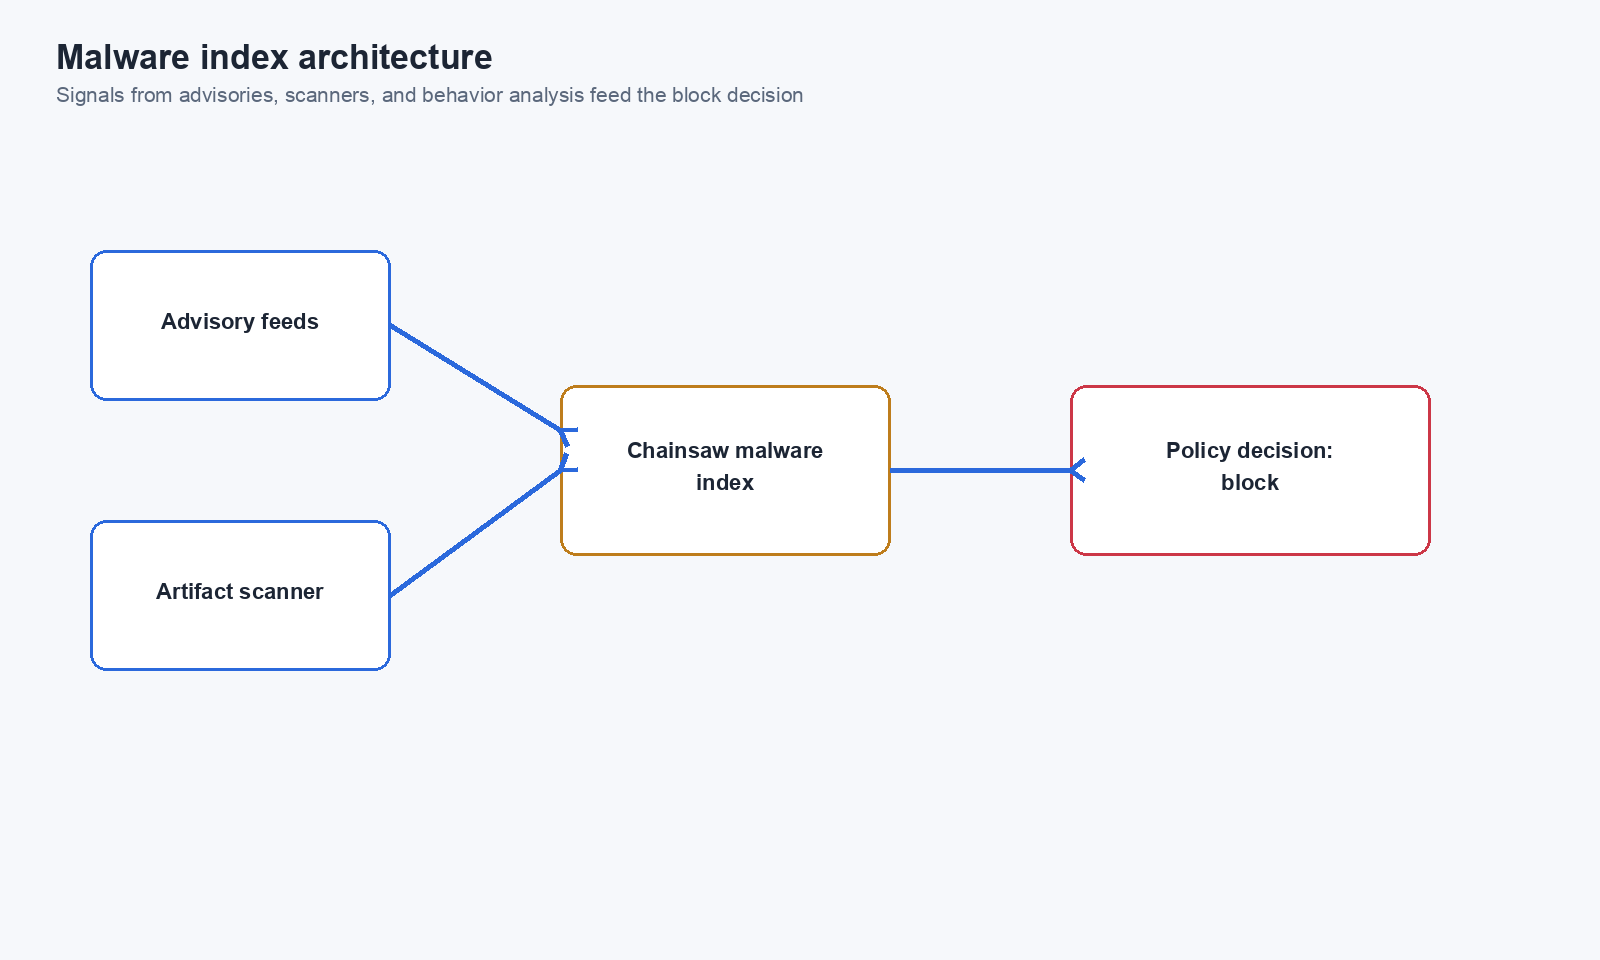
Chainsaw maintains an in-memory index of known-malicious packages sourced from the OpenSSF Malicious Packages database. Every package request is checked against this index in O(1) time — if a match is found, the package’s trust score is instantly set to -100 and the request can be blocked before the malicious code ever reaches a developer’s machine.
Prerequisites
- Chainsaw deployed and receiving traffic (malware detection is automatic)
- Manager role or above to configure policies
Step 1: Understand the Malware Index
Chainsaw’s malware detection uses the OSV (Open Source Vulnerabilities) format from the OpenSSF database:
| Component | Description |
|---|---|
| Source | OpenSSF Malicious Packages database |
| Format | OSV JSON entries |
| Lookup | O(1) hash-based, per ecosystem + package name + version |
| Data | Malware ID (e.g., MAL-2024-0001), summary, affected version ranges |
| Update | Refreshed automatically in-process, includes introduced/fixed version range support |
What Gets Detected
The index covers known malicious packages across ecosystems:
- npm — Typosquats, crypto miners, credential stealers
- PyPI — Backdoored packages, data exfiltrators
- Cargo — Supply chain attack packages
- Swift — Bridged from GHSA (
ecosystem=swift&type=malware); gated behindcfg.EnableGHSAMalware - Docker — Digest-first lookup (
sha256:…) and name+tag fallback via a Docker-specific feed. An embedded seed plus an optional remote feed (DockerMalwareFeedURL) are loaded at startup; gated behindcfg.EnableDockerMalware(default on) - Other ecosystems — As reported to OpenSSF
Step 2: Review Malware Detections
In the Bill of Materials
Navigate to Bill of Materials and look for packages with a Malware Status of malicious.
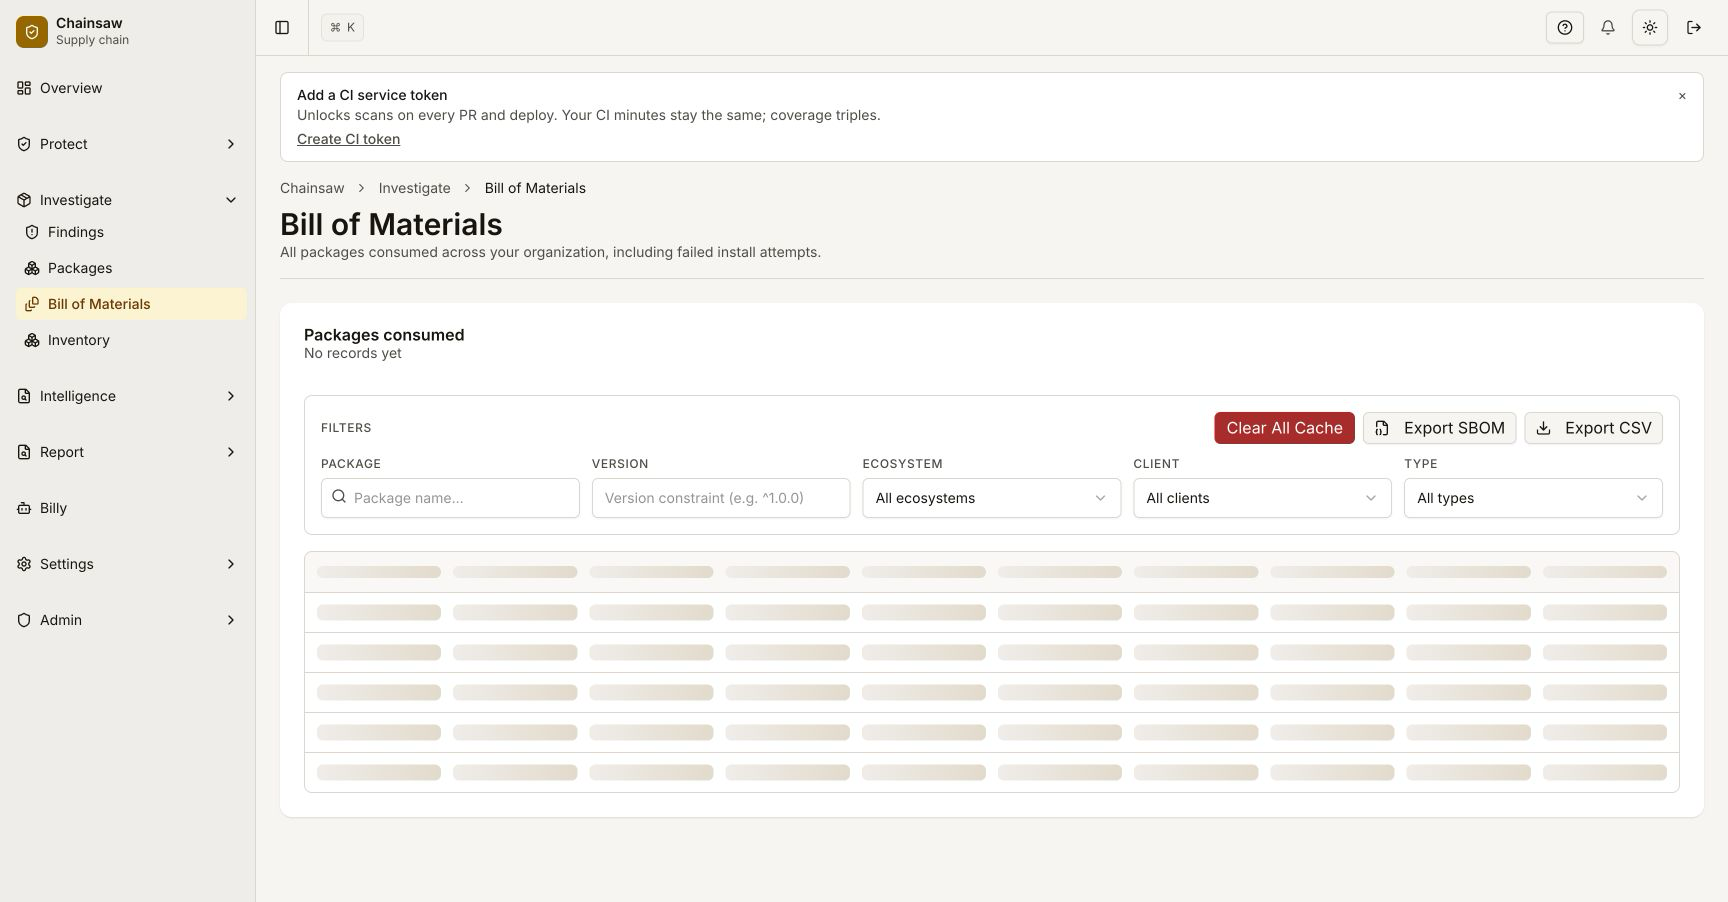
Click on a malicious package to see:
| Field | Description |
|---|---|
| Malware Status | malicious |
| Malware ID | OSV identifier (e.g., MAL-2024-0001) |
| Trust Score | -100 (instant kill — overrides all other signals) |
| Summary | Description of the malware behavior |
In the Dashboard
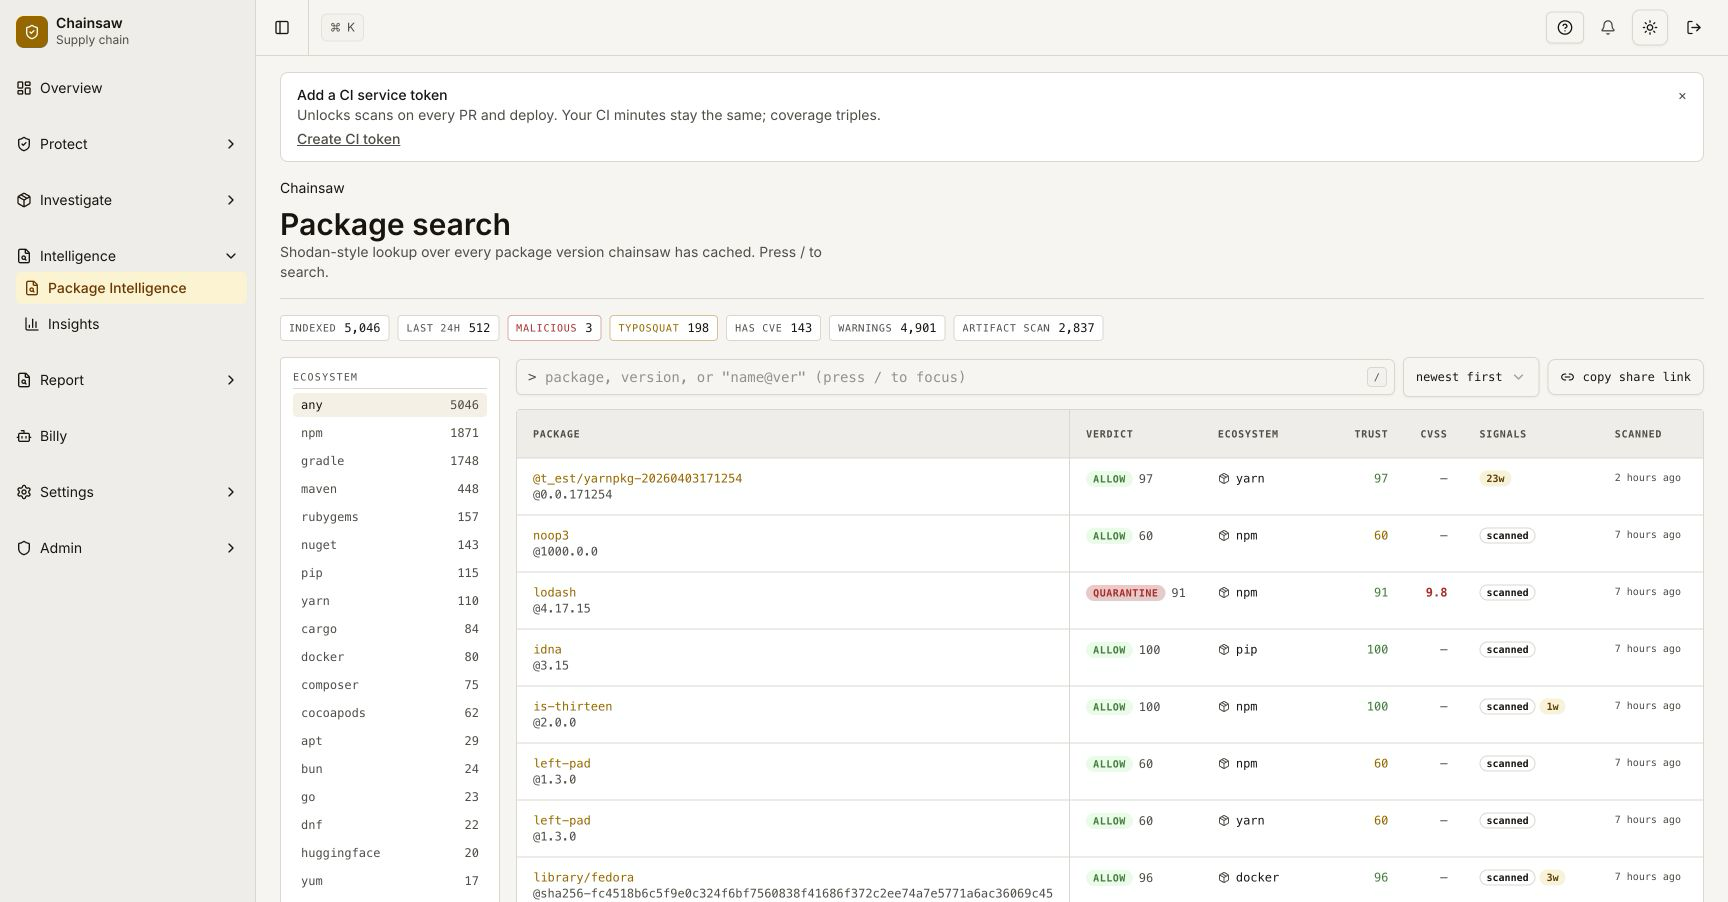
Malware blocks appear as critical severity violations on the overview dashboard.
Step 3: Create a Malware Blocking Policy
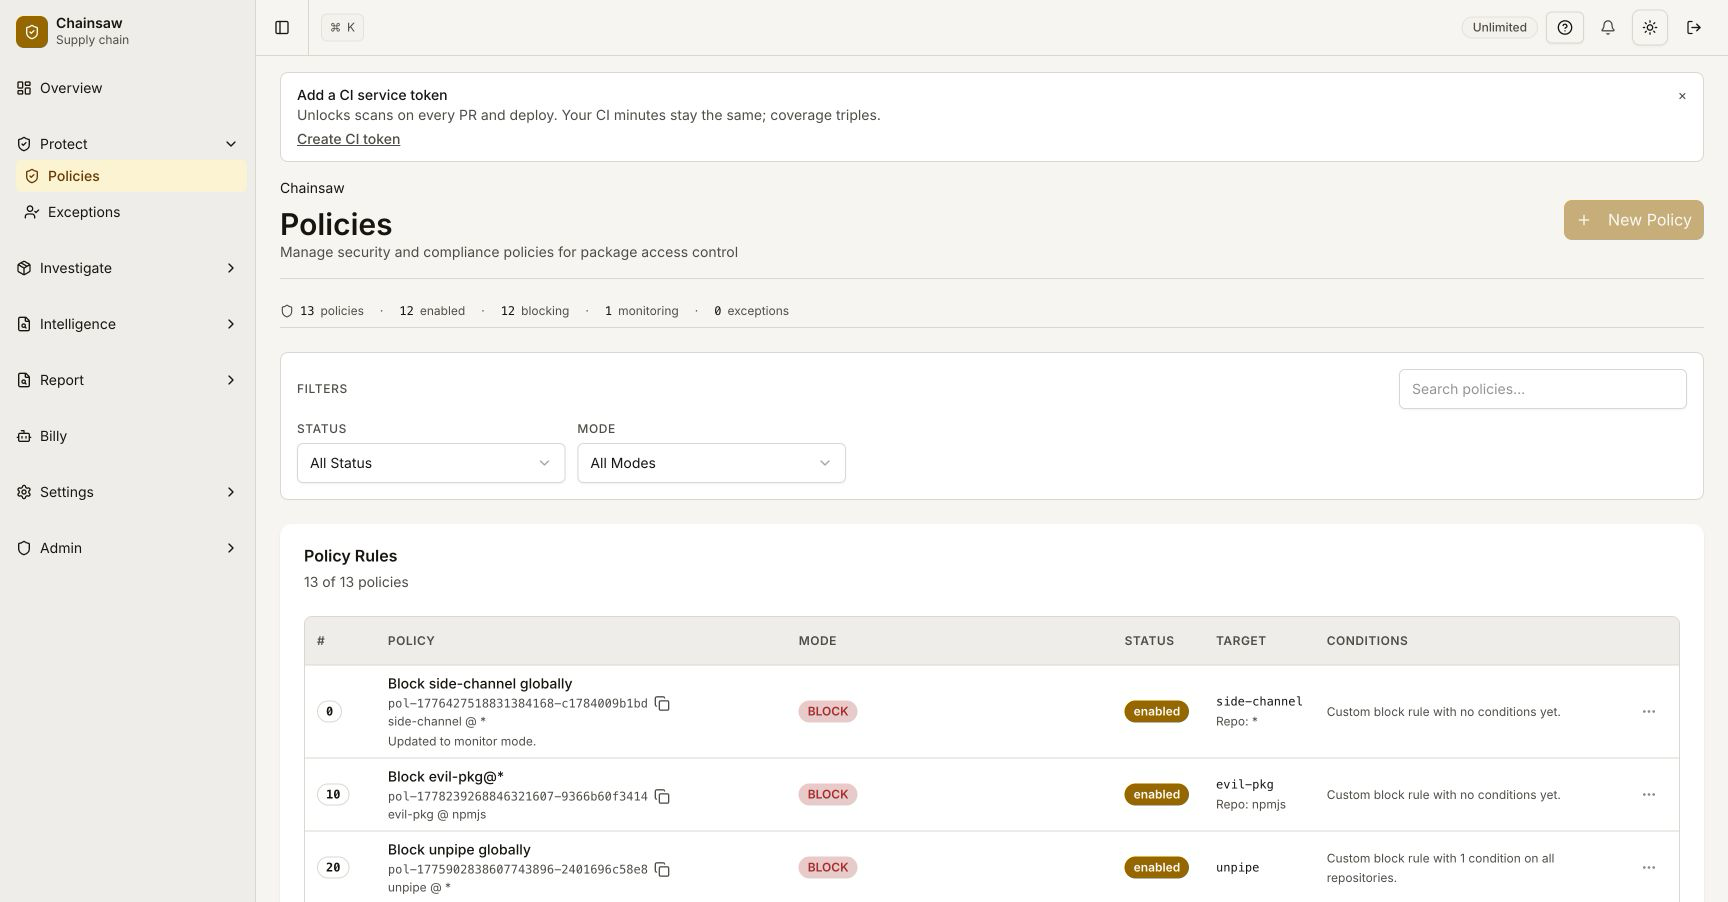
While malware detection runs automatically, you need a policy to enforce blocking. Without a policy, detections are recorded but packages may still be served.
Navigate to Policies and create:
- Name:
Block Known Malware - Action: Block
- Condition: Malware Status →
malicious - Scope: All repositories
- Precedence: Very high (this should be near the top of your policy stack)
Step 4: Understand Trust Score Impact
Malware detection has a special “kill switch” effect on the trust score:
| Normal Score Components | Points |
|---|---|
| Vulnerability check | 0-20 |
| Provenance | 0-25 |
| License | 0-10 |
| Package age | 0-10 |
| Typosquat check | -30 to +10 |
| Source repo | 0-10 |
| Version count | 0-10 |
| Checksum | 0-5 |
| Total range | -30 to 100 |
| Malware detected | -100 |
|---|---|
| Overrides all other components | Instant minimum score |
A trust score of -100 makes it immediately obvious in any view that the package is dangerous.
Step 5: Respond to a Malware Detection
When malware is detected in your supply chain:
Immediate Actions
- Confirm the block — Verify the package was blocked in the Traffic or Violations view
- Identify affected clients — Filter audit logs by the malicious package name
- Check if it was ever installed — Look at the BOM for
last_outcome=success(pre-policy) - Notify affected teams — Share the malware ID and affected versions
Investigation
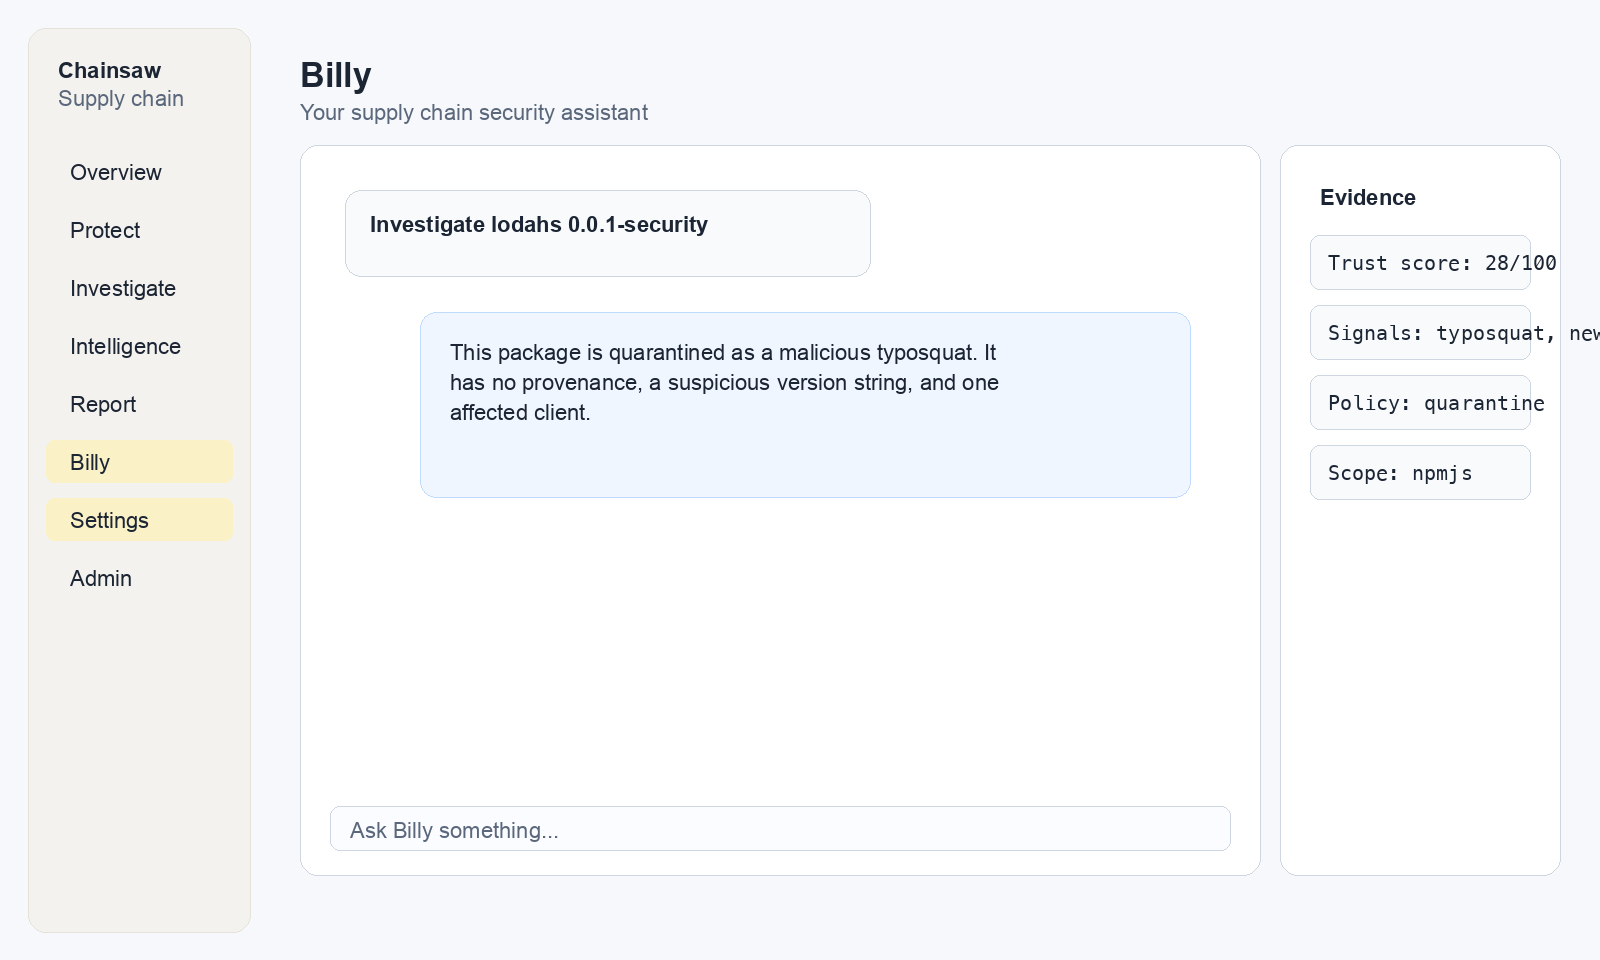
Billy: "Show me all events for package [malicious-package] in the last 90 days"
Billy: "Which clients installed [malicious-package] before it was blocked?"
Remediation
If the malicious package was installed before detection:
- Identify all systems that received the package
- Remove the package from node_modules / site-packages / local cache
- Rotate any credentials that may have been exposed
- Audit system logs for suspicious activity
- Update lockfiles to exclude the malicious version
Step 6: Monitor the Malware Index
Chainsaw refreshes the malware index automatically from the OpenSSF database using the in-app data_sources.openssf scheduler. To ensure you have the latest detections:
- Keep
data_sources.openssf.enabledturned on - Use the default 6-hour refresh interval unless you have a stricter operational requirement
- Monitor Chainsaw logs or the Settings page for last success time, next run, and the active OpenSSF revision
- Use the manual refresh action when you want to force an immediate sync after a high-priority advisory lands
Step 7: Version Range Handling
The malware index supports version ranges, not just exact versions. An OSV entry might specify:
{
  "affected": [{
    "package": { "name": "malicious-lib", "ecosystem": "npm" },
    "ranges": [{
      "type": "SEMVER",
      "events": [
        { "introduced": "1.0.0" },
        { "fixed": "1.0.5" }
      ]
    }]
  }]
}
This means versions 1.0.0 through 1.0.4 are malicious, but 1.0.5 (the fixed version) is clean. Chainsaw handles this automatically during index lookup.
Next Steps
- How to Detect and Prevent Typosquatting — Catch malware that hides behind similar names
- How to Use Trust Scores to Assess Package Risk — See how malware affects the overall trust score
- How to Monitor Violations and Respond to Blocked Packages — Handle malware-blocked packages