How to Configure SSO/OIDC for Your Organization
Set up single sign-on with your identity provider, configure OIDC settings, and manage the SSO login flow.
Copies the raw Markdown source of this guide, for pasting into an LLM or notes.
Overview
Single Sign-On (SSO) via OpenID Connect (OIDC) allows your team to log into Chainsaw using their existing corporate identity provider (IdP). This eliminates separate passwords, enforces your IdP’s security policies (MFA, conditional access), and simplifies onboarding/offboarding.
Prerequisites
- Owner or Admin role in Chainsaw
- Access to your organization’s identity provider admin console
- The IdP must support OIDC (Okta, Azure AD, Google Workspace, Auth0, Keycloak, etc.)
Step 1: Gather Your IdP Information
Before configuring Chainsaw, collect these values from your identity provider:
| Value | Description | Where to Find |
|---|---|---|
| Client ID | OIDC application identifier | IdP app registration |
| Client Secret | OIDC application secret | IdP app registration |
| Issuer URL | OIDC discovery endpoint | IdP documentation |
| Authorization URL | OAuth authorize endpoint | Usually auto-discovered |
| Token URL | OAuth token endpoint | Usually auto-discovered |
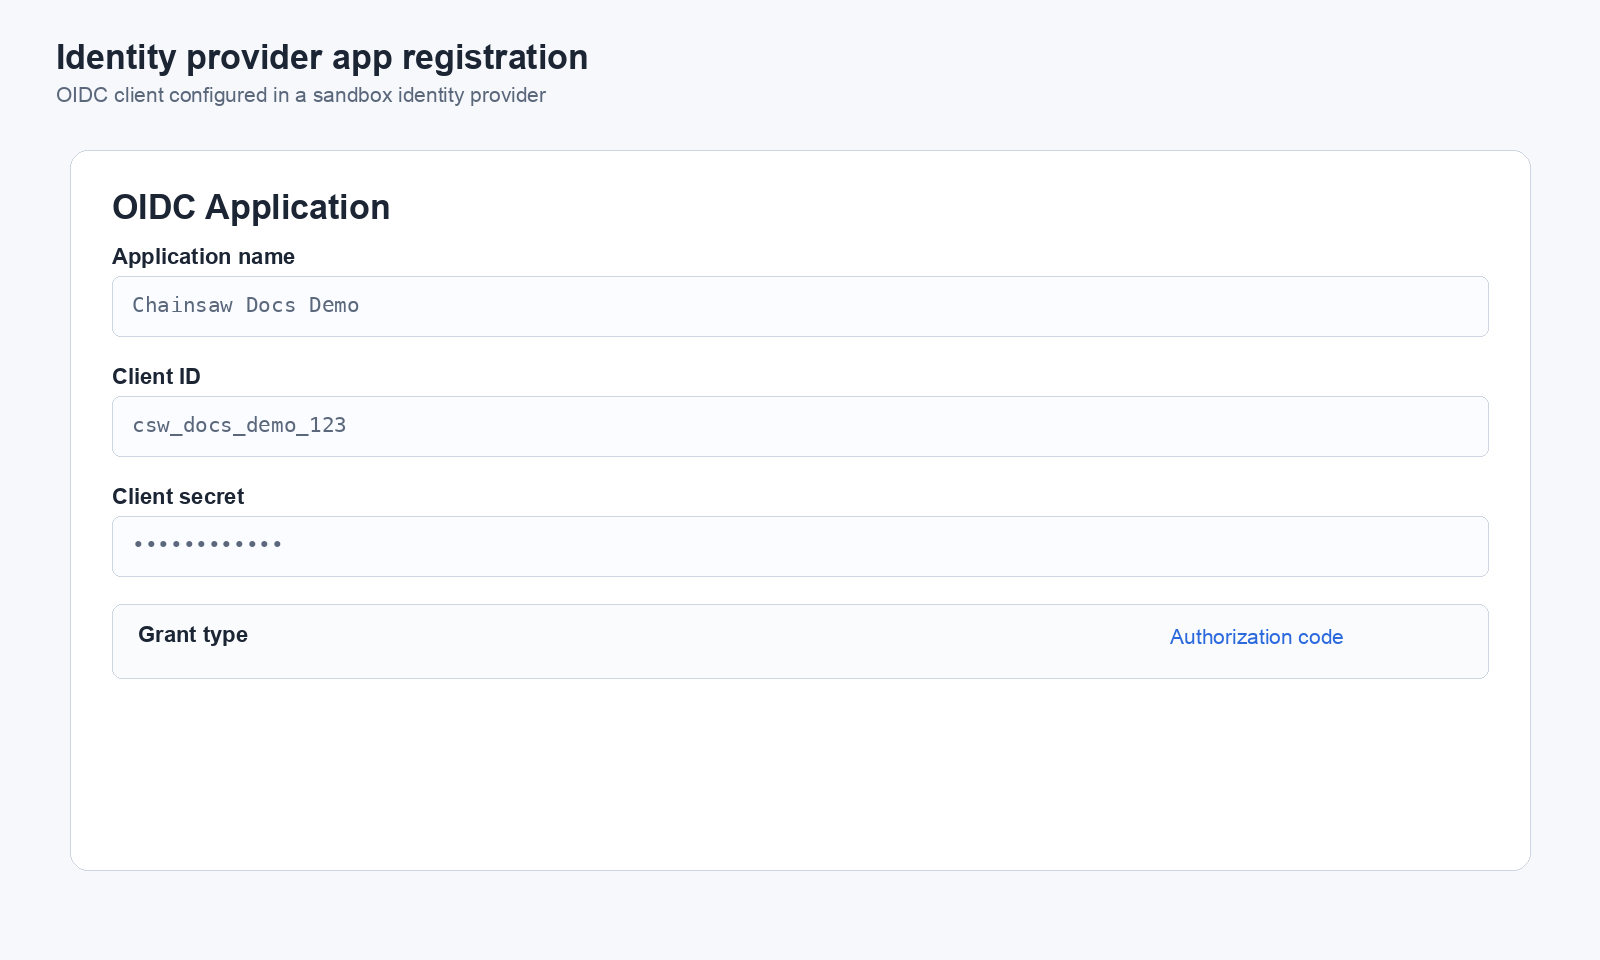
Step 2: Register Chainsaw in Your IdP
Create a new OIDC application in your identity provider:
Application Settings
| Setting | Value |
|---|---|
| Application Name | Chainsaw |
| Application Type | Web application |
| Redirect URI | https://chain305.com/chainsaw/api/auth/sso/callback |
| Logout URI | https://chain305.com/chainsaw/login |
| Scopes | openid, profile, email |
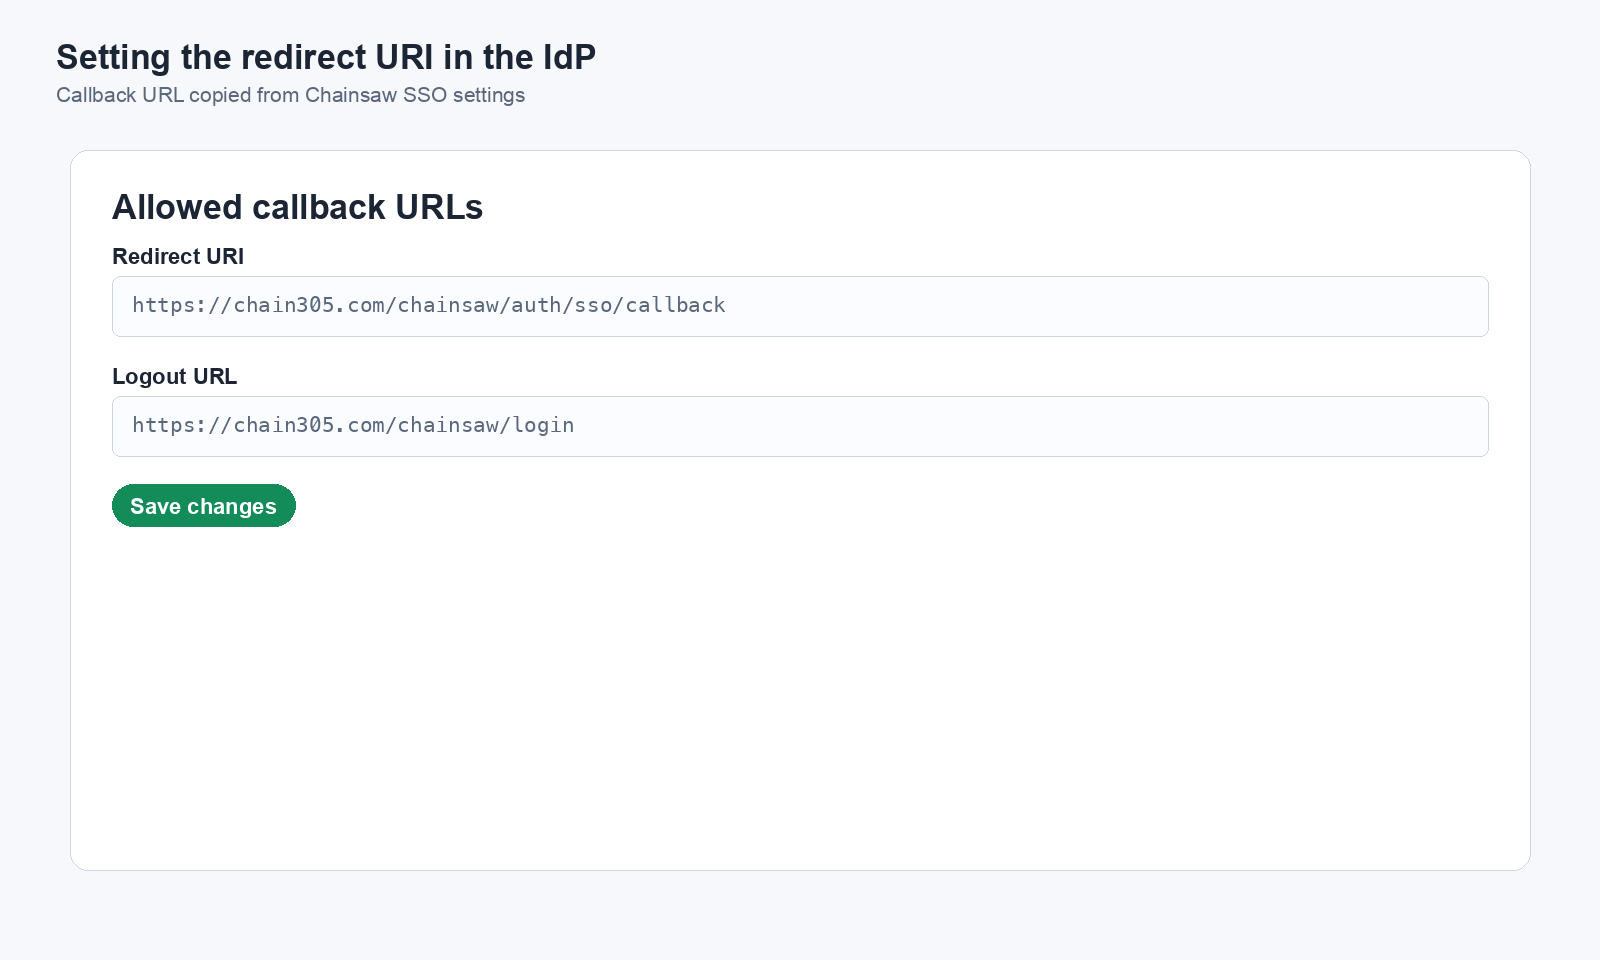
The redirect URI must exactly match
https://chain305.com/chainsaw/api/auth/sso/callback (including the protocol and path). A mismatch will cause SSO to fail.Provider-Specific Guides
Okta
- Navigate to Applications → Create App Integration
- Select OIDC - OpenID Connect and Web Application
- Set the redirect URI and save
- Copy the Client ID and Client Secret
- Issuer URL:
https://your-org.okta.com
Azure AD (Entra ID)
- Navigate to App Registrations → New Registration
- Set the redirect URI (Web platform)
- Create a client secret under Certificates & secrets
- Copy the Application (client) ID and secret
- Issuer URL:
https://login.microsoftonline.com/TENANT_ID/v2.0
Google Workspace
- Navigate to Google Cloud Console → APIs & Services → Credentials
- Create an OAuth 2.0 Client ID (Web application type)
- Add the redirect URI
- Copy the Client ID and Client Secret
- Issuer URL:
https://accounts.google.com
Step 3: Configure SSO in Chainsaw
Navigate to Settings → Single sign-on.
- Enter the Client ID from your IdP
- Enter the Client Secret from your IdP
- Enter the Issuer URL (Chainsaw auto-discovers authorization and token endpoints)
- Copy the Callback URL and Post-logout Redirect URL shown by Chainsaw into your IdP app registration
- Click Save
Step 4: Test the SSO Flow
- Open a new browser or incognito window
- Navigate to your Chainsaw login page
- Click Sign in with SSO
- You should be redirected to your identity provider
- Authenticate with your corporate credentials
- You should be redirected back to Chainsaw and logged in
Test SSO with your own account first before rolling it out to the team. This lets you verify the configuration without disrupting others.
Step 5: Map Users to Roles
When users log in via SSO for the first time, they need to be assigned a role. You have several options:
- Group-to-role mappings (recommended) — Automatically assign Chainsaw roles based on IdP group claims. See How to Set Up SSO Group-to-Role Mappings.
- Pre-invite users — Send invitations with assigned roles before SSO is enabled
- Default role — New SSO users get the Member role by default
- Manual assignment — After first login, change roles from the Members page
- SCIM provisioning — Automatically provision users and assign roles from your IdP. See How to Configure SCIM Provisioning.
Step 6: Troubleshooting
Common Issues
| Issue | Cause | Fix |
|---|---|---|
| Redirect URI mismatch | Chainsaw URL doesn’t match IdP config | Verify exact URL match including protocol |
| Invalid client credentials | Wrong Client ID or Secret | Re-copy from IdP |
| User not found | Email doesn’t match an invited user | Invite the user first or check email mapping |
| Token expired | Clock drift between servers | Sync server clocks with NTP |
Checking Logs
If SSO fails, check the Chainsaw server logs for OIDC error messages:
# Docker
docker logs chainsaw | grep -i "oidc\|sso\|auth"

# Binary
journalctl -u chainsaw | grep -i "oidc\|sso\|auth"
Best Practices
- Test in a staging environment first — Validate the full flow before production
- Keep password login as a fallback — Don’t disable password auth until SSO is proven stable
- Enforce MFA at the IdP level — Your IdP’s MFA policy applies to Chainsaw logins
- Enable Skip Local 2FA only if intended — Leave local TOTP enabled unless you explicitly trust the IdP’s MFA posture
- Pre-invite users with roles — Set up role assignments before enabling SSO
- Monitor audit logs — Watch for SSO-related events after rollout
Chainsaw also supports SAML 2.0 for environments that require it (e.g. CyberArk PVWA, BeyondTrust, ADFS). See How to Configure SAML 2.0 SSO.
Next Steps
- How to Configure SAML 2.0 SSO — Use SAML instead of OIDC for enterprise IdPs
- How to Set Up SSO Group-to-Role Mappings — Automate role assignment from IdP groups
- How to Configure SCIM Provisioning — Automate user lifecycle management
- How to Set Up Two-Factor Authentication — Additional security for non-SSO accounts
- How to Invite Team Members and Assign Roles — Pre-invite users before SSO rollout