How to Manage Cache and Optimize Build Performance
Monitor cache hit ratios, understand the blob storage architecture, purge cached packages, and optimize cache performance for faster builds.
Overview
Chainsaw’s pull-through cache is one of its most impactful features for developer productivity. By caching packages locally, builds avoid redundant upstream fetches, reduce latency, and continue working even when upstream registries experience outages. This tutorial covers monitoring, managing, and optimizing the cache.
Prerequisites
- Admin or Owner role in Chainsaw
- Traffic flowing through the proxy (cache builds up over time)
Step 1: Understand Cache Architecture
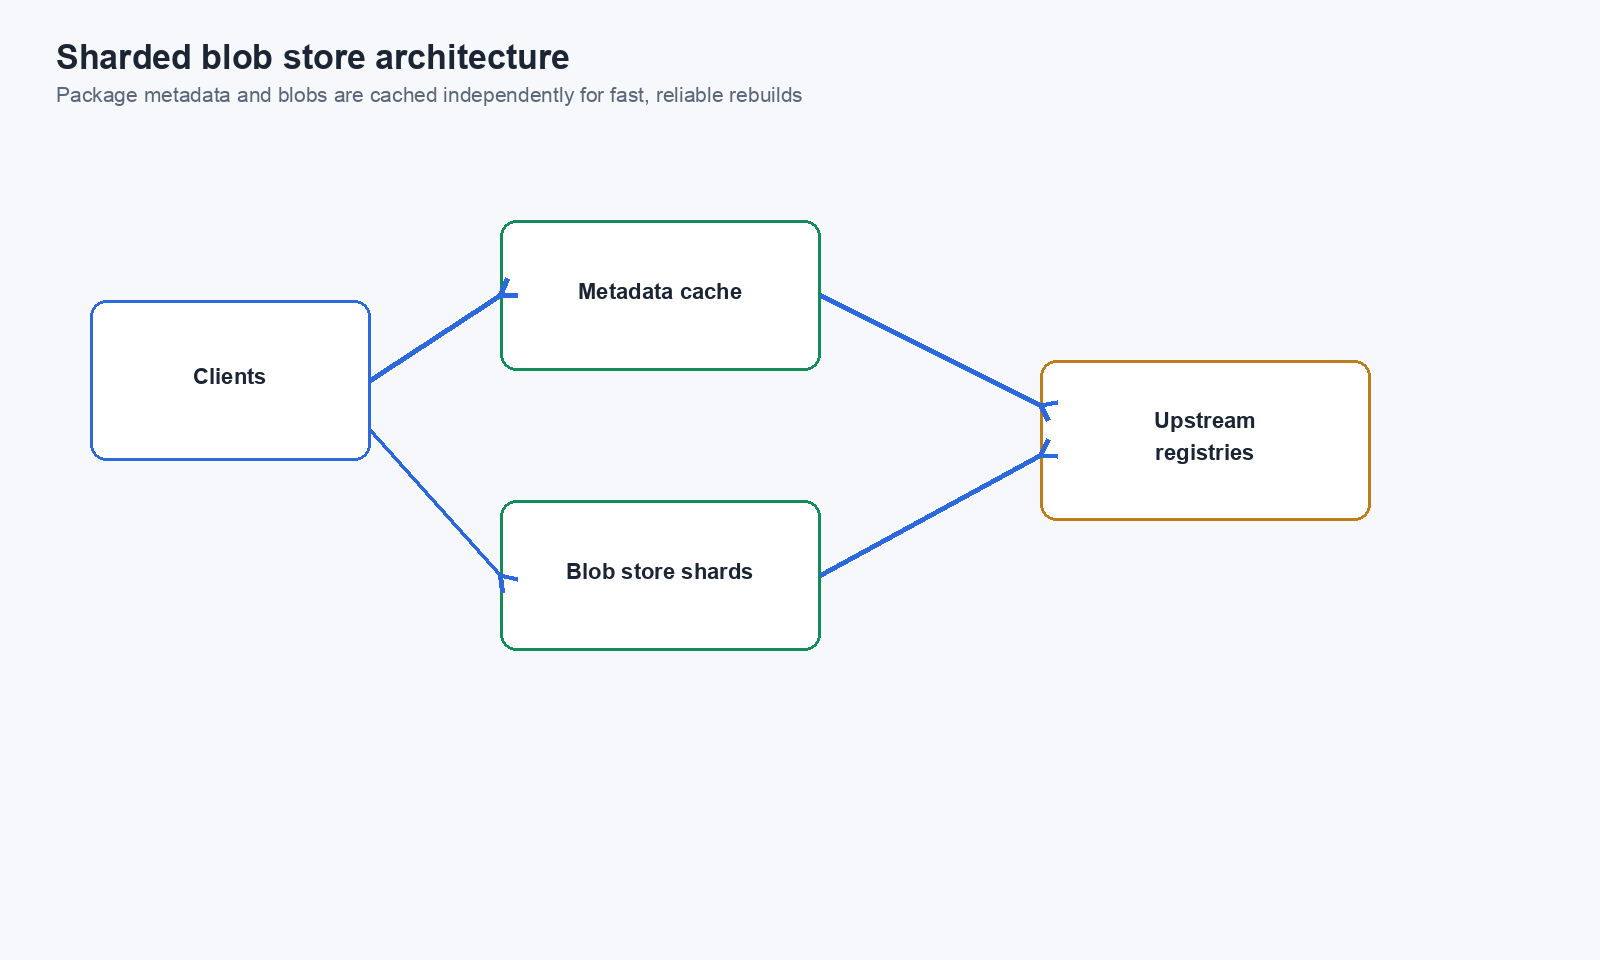
Chainsaw stores cached artifacts in a sharded blob store on the filesystem:
/data/blobs/
  ├── ab/
  │   ├── cd1234...  (lodash-4.17.21.tgz)
  │   └── ef5678...  (express-4.18.2.tgz)
  ├── bc/
  │   └── ...
  └── ...
Artifacts are content-addressed (stored by hash) to avoid duplicates and enable integrity verification.
How Caching Works
- First request: Chainsaw fetches from upstream, stores in blob store, serves to client
- Subsequent requests: Served directly from blob store (cache hit)
- Metadata: Package metadata is cached separately in the database
Step 2: Monitor Cache Hit Ratio
Navigate to the Overview dashboard. The Cache Hit Ratio KPI shows the percentage of requests served from cache vs fetched from upstream.
Interpreting the Ratio
| Ratio | Assessment |
|---|---|
| 90-100% | Excellent — most packages served from cache |
| 70-89% | Good — cache is working well, new packages pulling it down |
| 50-69% | Fair — consider if teams are installing many unique packages |
| < 50% | Poor — cache may be too small, or many first-time installs |
Step 3: View Per-Repository Cache Statistics
Navigate to Repositories and click into a specific repository to see its cache performance:
- Cached package count
- Cache size
- Hit ratio for this repository
- Most frequently accessed packages
Step 4: Purge Cached Packages
Sometimes you need to clear cached artifacts — for example, when a malicious version needs to be removed from the cache, or when storage is running low.
Purge from the BOM Page
Navigate to Bill of Materials, find the package, and use the Purge Cache control.
When to Purge
| Scenario | Action |
|---|---|
| Malware detected in cached package | Purge immediately |
| Upstream released a corrected version | Purge old version, re-fetch |
| Storage capacity concerns | Purge oldest/least-used packages |
| Corrupted artifact | Purge and re-fetch |
Step 5: Optimize Cache Performance
Storage Provisioning
Estimate your cache storage needs based on your ecosystem usage:
| Ecosystem | Typical Package Size | 1000 Packages |
|---|---|---|
| npm | 50KB - 5MB | ~500MB |
| PyPI | 100KB - 50MB | ~2GB |
| Maven | 100KB - 100MB | ~5GB |
| Docker | 50MB - 2GB | ~100GB+ |
| Go | 10KB - 10MB | ~500MB |
Network Topology
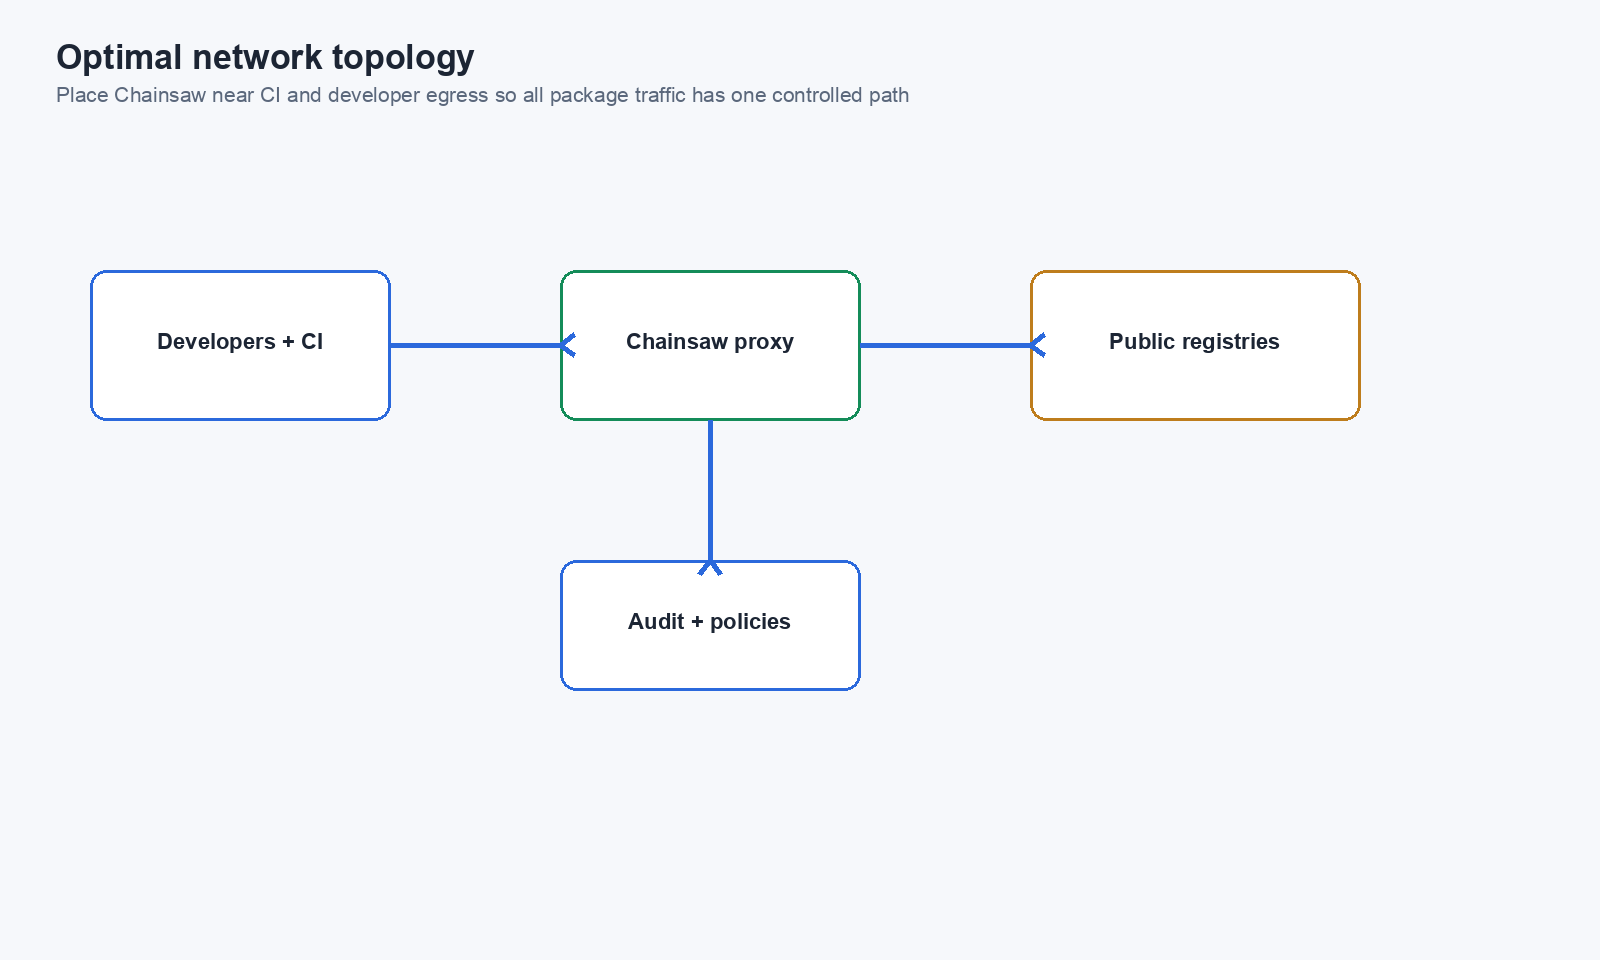
For optimal performance, deploy Chainsaw close to your build infrastructure:
- Same datacenter/region as CI/CD runners
- Low-latency network between Chainsaw and build machines
- High-bandwidth connection to upstream registries (for cache misses)
Warm the Cache Proactively
For critical packages, you can warm the cache before builds by running installs:
# Warm npm cache
npm install --prefer-online --registry https://chain305.com/chainproxy/repository/@default/npmjs/

# Warm pip cache
pip download -r requirements.txt \
  --index-url https://chain305.com/chainproxy/repository/@default/pypi/simple/ \
  --dest /tmp/pip-cache
Step 6: Monitor Upstream Availability
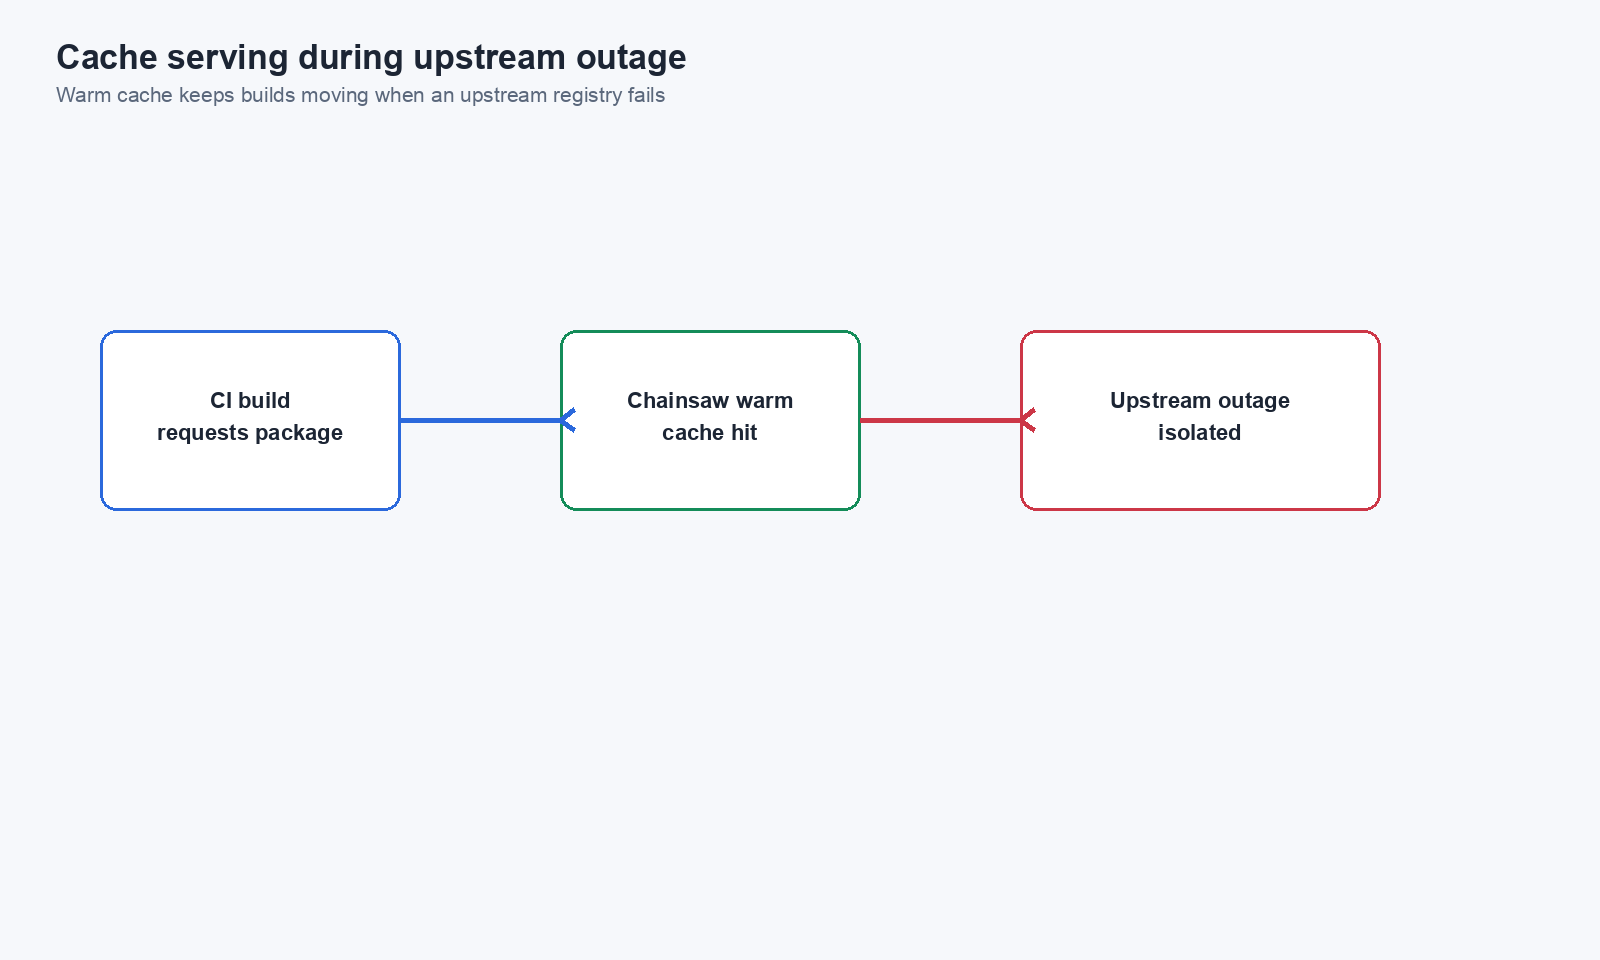
When upstream registries go down, Chainsaw serves cached packages transparently. Monitor for upstream failures:
- Check server logs for upstream connection errors
- Watch for increased 404s on uncached packages
- Monitor cache hit ratio — it rises during upstream outages (only cache hits succeed)
Step 7: Database vs Blob Store
Chainsaw stores data in two layers:
| Layer | Stores | Technology |
|---|---|---|
| Database | Metadata, policies, users, events, package info | Managed relational database |
| Blob Store | Actual package artifacts (tarballs, JARs, wheels) | Filesystem (sharded) |
For scaling:
- Single instance: database + local filesystem
- Multi-instance: database + shared filesystem (NFS) or object storage
Best Practices
| Practice | Benefit |
|---|---|
| Monitor cache hit ratio weekly | Early detection of issues |
| Purge known-malicious packages immediately | Prevent re-installation from cache |
| Size storage for your largest ecosystem | Avoid cache eviction |
| Deploy close to build infrastructure | Minimize network latency |
| Use lockfiles in builds | Consistent caching behavior |
| Warm cache after deployment | First builds don’t hit cold cache |
Next Steps
- How to Manage Repositories and Upstream Mirrors — Repository configuration
- How to Use the Dashboard to Track Supply Chain Health KPIs — Monitor overall performance
- How to Integrate Chainsaw with CI/CD Pipelines — Optimize build pipelines