How to Investigate a Violation in the BOM Inspector
When a violation fires, the per-package timeline tells you what to do about it. Walk through the BOM inspector — findings list, signal evidence, dependency paths, and one-click drill from violation to owner.
When You’d Open the Inspector
Tutorial 09 covered the violations list — the index of every block / quarantine / monitor-fire that has happened. The BOM inspector is the next layer down: open a single violation and read the full story of why the package fired.
You’d open the inspector when:
- A violation looks legitimate but you need evidence to confirm before letting it block a build.
- A violation looks like a false positive and you need evidence to confirm before granting an exception.
- A package is getting blocked repeatedly and you want to see the timeline (was it always sketchy, or did its trust score recently crash?).
- An auditor asks “what made you decide this package was bad?”.
Prerequisites
- At least one violation in the system. If you haven’t generated one, install a known-vulnerable package against a strict policy to get one.
Step 1: Open a Violation
From Reports → Violations, click any row. The violation detail panel slides open. At the top: the basic facts — package, version, policy, action, time.
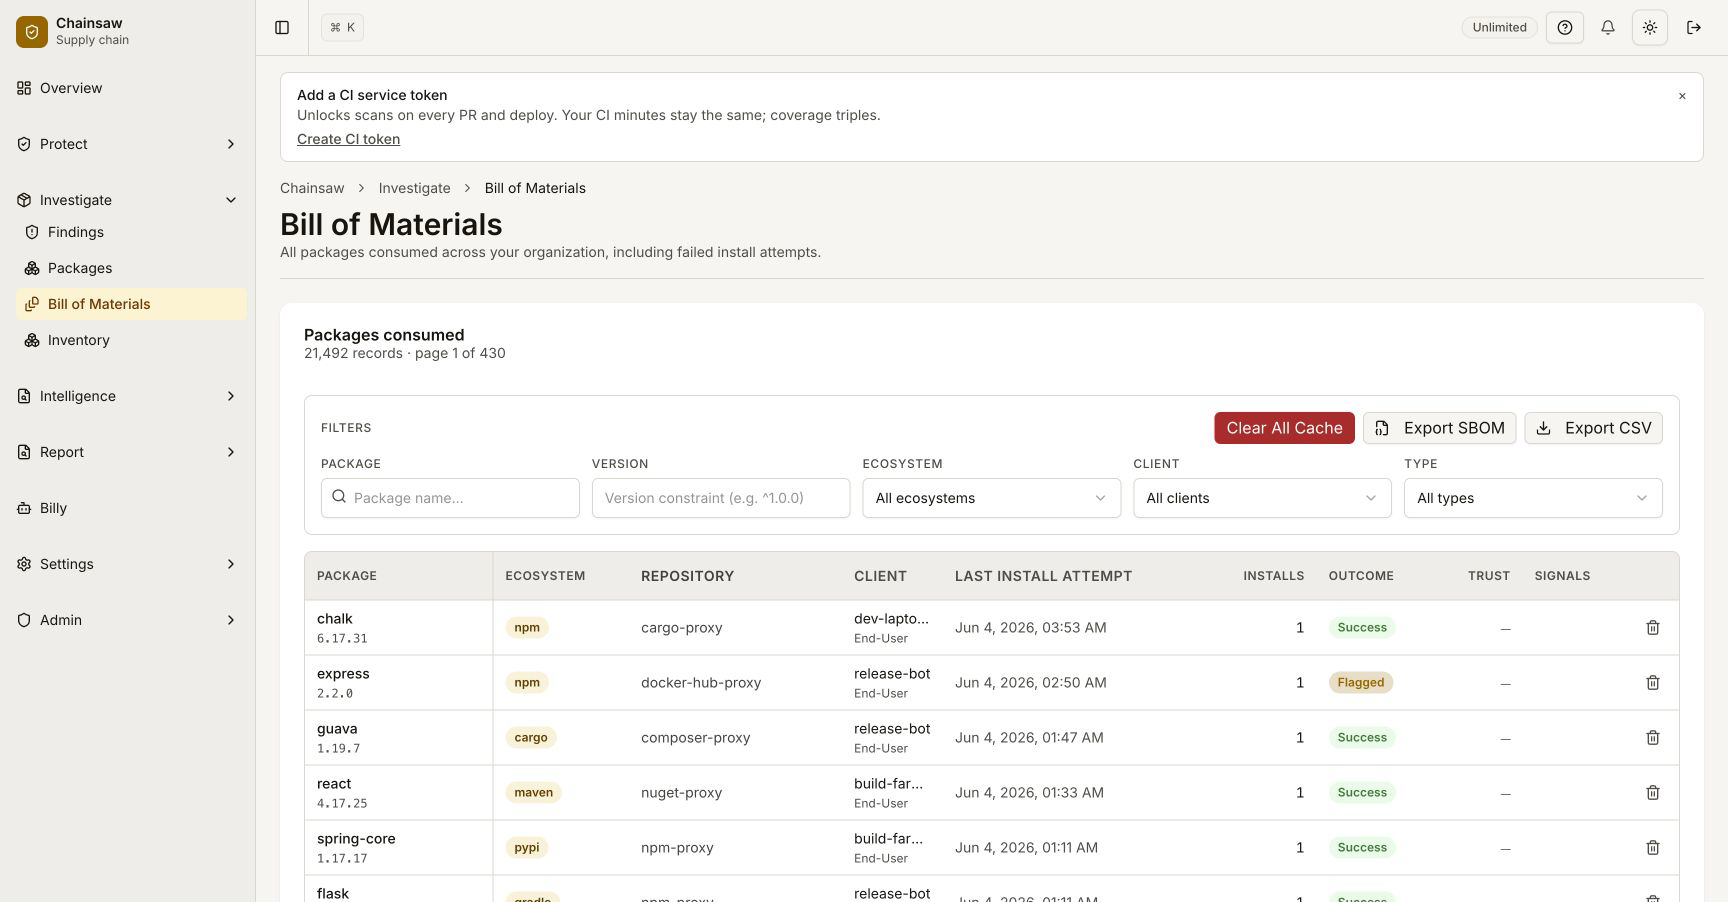
Below that: the BOM inspector with five tabs.
Step 2: Overview Tab
The overview is a one-screen summary:
| Section | What you see |
|---|---|
| Trust score breakdown | Component-level breakdown of how the score was computed (the same view as tutorial 08) |
| Active findings | Each signal that fired (KEV, malware, hidden_unicode, etc.) with severity |
| Top installer | The client that pulled the package most recently |
| First / last seen | When this version first appeared in the inventory and when it was last requested |
| Verdict | The action the policy fired (block / quarantine / monitor) and which policy fired it |
The verdict at the bottom links to the policy that fired — one click and you’re at the rule that produced this outcome.
Step 3: Findings Tab
Every signal that fired against this package, with full evidence:
| Finding | Evidence |
|---|---|
vulnerability.cvss>=9 | List of CVE IDs with severity, EPSS, KEV flags |
aiml.pickle_unsafe | Byte offset and unsafe symbol referenced |
attack.publisherChanged | Old maintainer set vs. new maintainer set, with diff highlighted |
cap.shell | File / line / snippet of where the capability was detected (npm packages; the capability scan is on by default — set CHAINSAW_CAPABILITY_SCAN=0 to disable it) |
manifestConfusion | The mismatch between package.json and registry metadata |
attack.hasHiddenUnicode | Excerpt of source with the hidden characters highlighted |
Each finding has a confidence rating (high / medium / low) — high-confidence findings are the ones to act on; low-confidence are tiebreakers.
Step 4: Timeline Tab
Every event for this package across your organization, in chronological order:
| Event type | Example |
|---|---|
| First request from any client | “2026-04-14 09:41 — first request by ci-frontend” |
| Trust score change | “2026-04-21 14:02 — trust score changed 72 → 18 (added attack.publisherChanged)” |
| Policy action | “2026-04-22 08:00 — first block under Block KEV-pinned” |
| Violation count | “2026-04-22 — 14 blocks across 3 clients” |
| Exception | “2026-04-22 16:00 — exception created by alice@example.com (JIRA-1234)” |
| Patch published | “2026-04-23 — upstream published 4.17.22 (clears CVE)” |
This is the most useful tab during an audit. The auditor’s question is usually “when did you know?”. The timeline answers it directly.
Step 5: Dependencies Tab
Where in your dependency tree this package sits:
- Direct installers: clients with manifests that name this package directly.
- Transitive paths: the dependency paths through which this package is reached, even when no manifest names it directly.
For each path, the inspector shows:
- The path itself, e.g.
frontend-build > webpack > terser-webpack-plugin > json5. - The constraint that pulled in the version (e.g.,
^1.0.4). - Whether the constraint can be bumped without breaking the parent (read from the parent’s peer-dep / version-range data).
This is the field that tells you whether to upgrade the package directly or upgrade an intermediate package — see How to Run the Patch Simulator.
Step 6: Evidence Tab
For findings that have raw evidence (source-code snippets, attestation chains, hidden-unicode samples), the evidence tab shows them inline with the relevant span highlighted.
Examples:
- For
aiml.has_hidden_unicode: a hex dump of the offending region, with bidi/zero-width marks rendered as visible glyphs (<U+200B>). - For
cap.shell: the file / line / snippet from the capability scan, with the dangerous call highlighted. - For
attack.publisherChanged: a side-by-side of the previous and current maintainer set, color-coded. - For
manifestConfusion: a JSON diff between thepackage.jsonand the registry metadata.
This is the tab to point at when someone asks “show me, don’t tell me”.
Step 7: Take Action From the Inspector
Three buttons at the top of the panel:
| Button | Action |
|---|---|
| Create exception | Pre-fills the exception form with the package, version, and a draft justification. See tutorial 19. |
| Notify owner | Calls route_violation_to_owner for this specific violation. See tutorial 61. |
| Simulate patch | Opens the patch simulator pre-filled with this package. See tutorial 53. |
The buttons are also exposed via the API for operators who want to script triage:
# Notify owner from a script
curl -X POST -H "Authorization: Bearer $CHAINSAW_TOKEN" \
     "https://chain305.com/chainproxy/api/violations/$VIOLATION_ID/notify-owner"
Step 8: Investigation Cadences
| Cadence | What to do |
|---|---|
| Per high-severity violation | Open the inspector, read the findings, decide: block stays / exception / patch. |
| Weekly | Walk the violations index sorted by same_package_count descending — the most-violated packages are the ones to upgrade or exception in bulk. |
| Per audit cycle | Pull the timeline tab into an evidence packet. Auditors love the chronology. |
Verification
- Open any violation. The five tabs render.
- The findings tab lists at least one finding with evidence.
- The timeline shows the chronology of events for this package.
- The dependencies tab shows at least one path (direct or transitive).
- Clicking Notify owner opens the dispatch form pre-filled with the resolved CODEOWNERS team.
Related Topics
- How to Monitor Violations and Respond to Blocked Packages — the violations index this inspector hangs off.
- How to Manage Policy Precedence and Exceptions — what to do once you decide to grant an exception.
- How to Answer “Are We Affected by CVE-X?” — the inventory side of the same picture.