How to Manage Policy Precedence and Exception Workflows
Understand first-match-wins evaluation, order policies by precedence, create time-bound exceptions, and balance security with developer productivity.
Overview
Chainsaw evaluates policies in precedence order using a first-match-wins model. When a package request arrives, Chainsaw walks the policy list from highest to lowest precedence and applies the first policy whose conditions match. Understanding this model is essential for building a layered security posture that balances protection with developer productivity.
Prerequisites
- Manager or Admin role in Chainsaw
- Existing policies configured (see earlier tutorials)
- Understanding of your organization’s security requirements
Step 1: Understand First-Match-Wins Evaluation
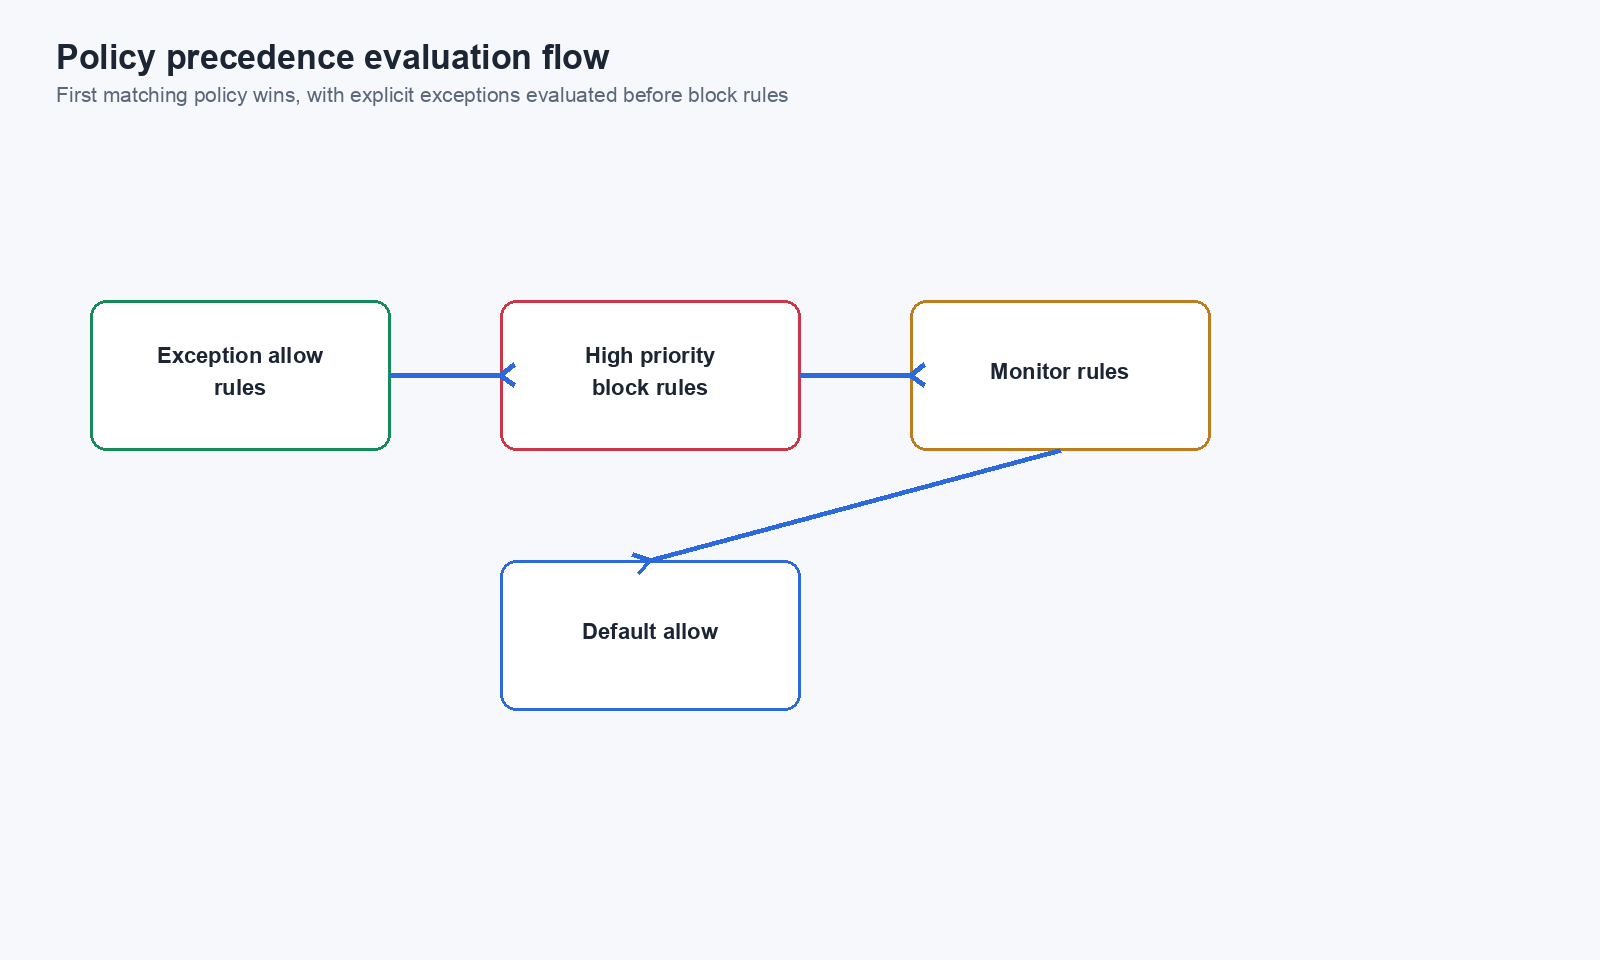
Policies are evaluated top to bottom. The first policy whose conditions match the request determines the outcome.
Request: npm install lodash@4.17.21

Policy 1 (Precedence: 100): Allow — package = "lodash"        → MATCH → ALLOW
Policy 2 (Precedence: 90):  Block — CVSS >= 7.0               → (never reached)
Policy 3 (Precedence: 80):  Block — trust_score < 30           → (never reached)
Step 2: Design Your Policy Stack
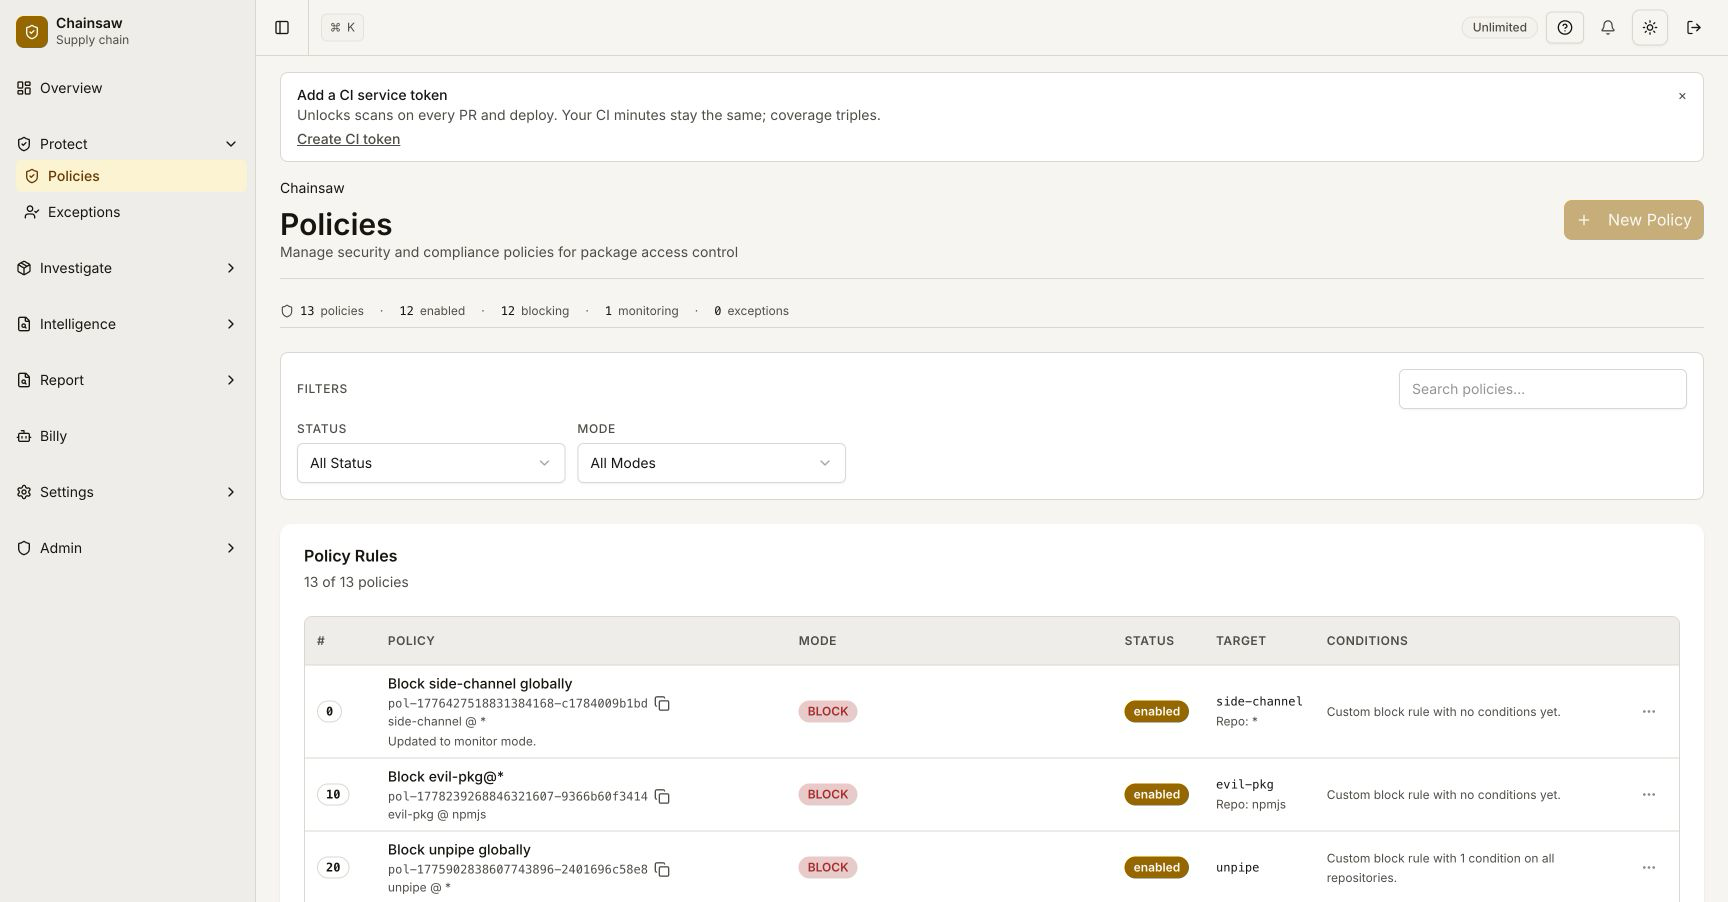
A well-designed policy stack typically follows this pattern (highest to lowest precedence):
| Precedence | Policy Type | Purpose |
|---|---|---|
| 100 | Emergency allow | Specific packages needed urgently during incidents |
| 90 | Exception allows | Time-bound exceptions for approved risk acceptance |
| 80 | Critical blocks | Block confirmed malware (trust score = -100) |
| 70 | High-severity blocks | Block critical vulnerabilities (CVSS >= 9.0) |
| 60 | Typosquat blocks | Block suspected typosquats |
| 50 | License blocks | Block prohibited licenses (AGPL, GPL) |
| 40 | Freshness guards | Block packages < 14 days old |
| 30 | Trust score blocks | Block low trust score packages (< 30) |
| 20 | Quarantine rules | Quarantine moderate-risk packages for review |
| 10 | Default allow | Allow everything that passes all checks |
Step 3: Reorder Policies
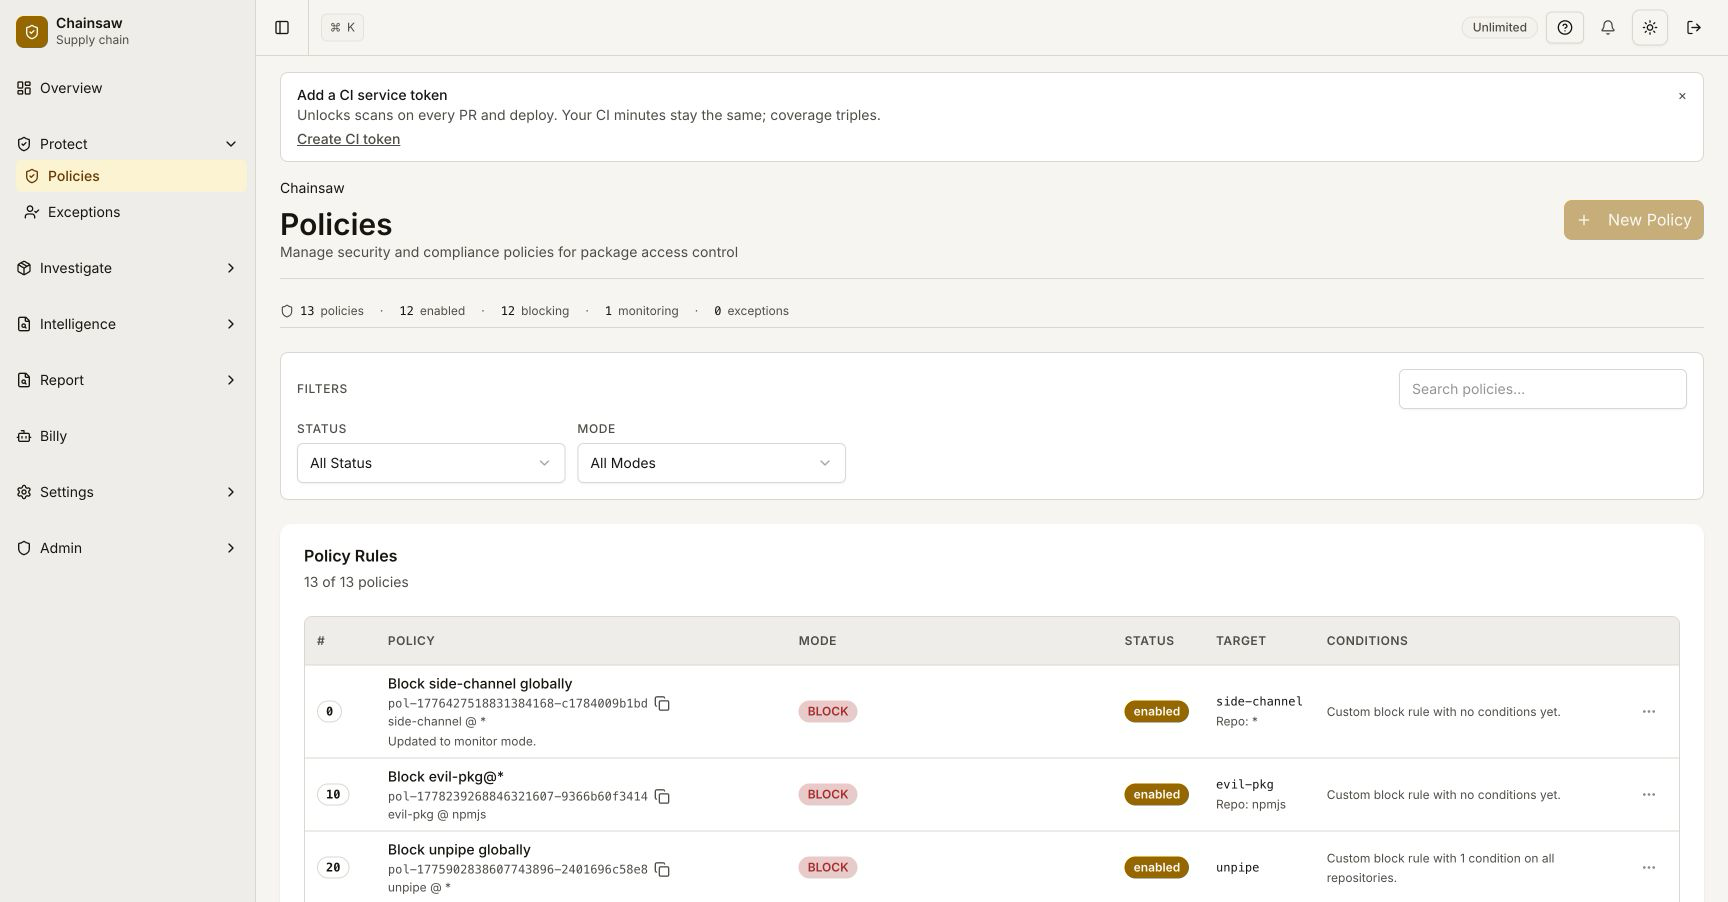
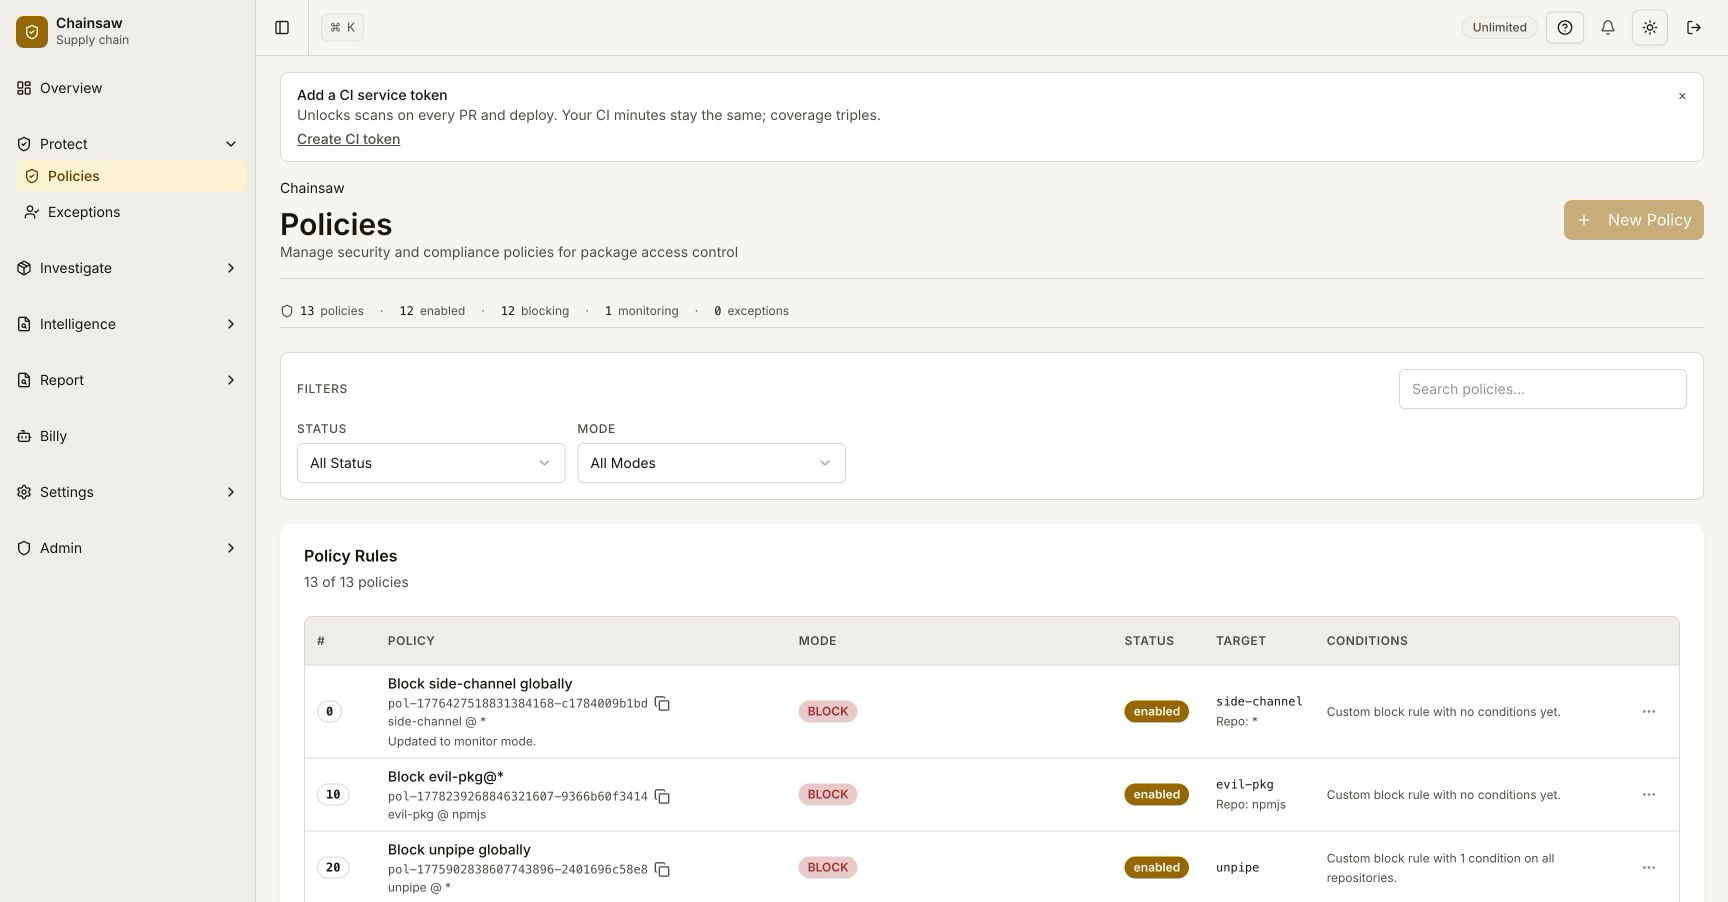
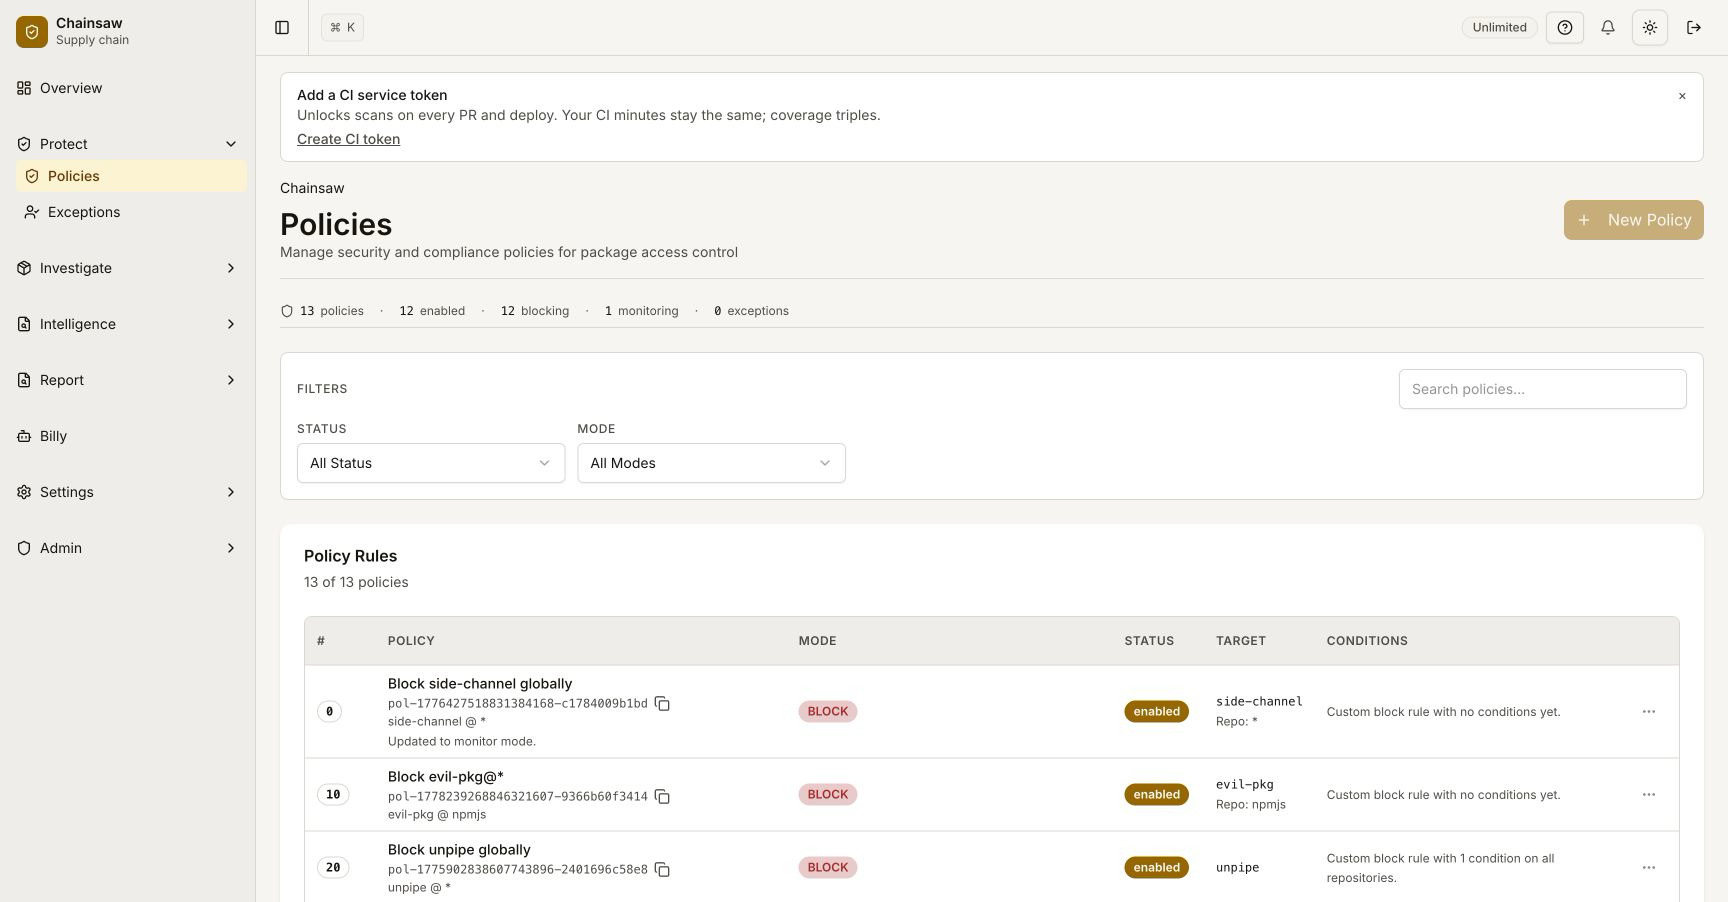
Navigate to Policies. Drag and drop policies to adjust their precedence order.
Rules for Ordering
- Specific allows before general blocks — Exceptions need higher precedence than the rules they override
- Narrow scope before broad scope — A policy targeting a specific package should be above one targeting all packages
- Malware blocks at the top — Never let an exception override malware detection
- Default behavior at the bottom — The catch-all policy goes last
Step 4: Create Time-Bound Exceptions
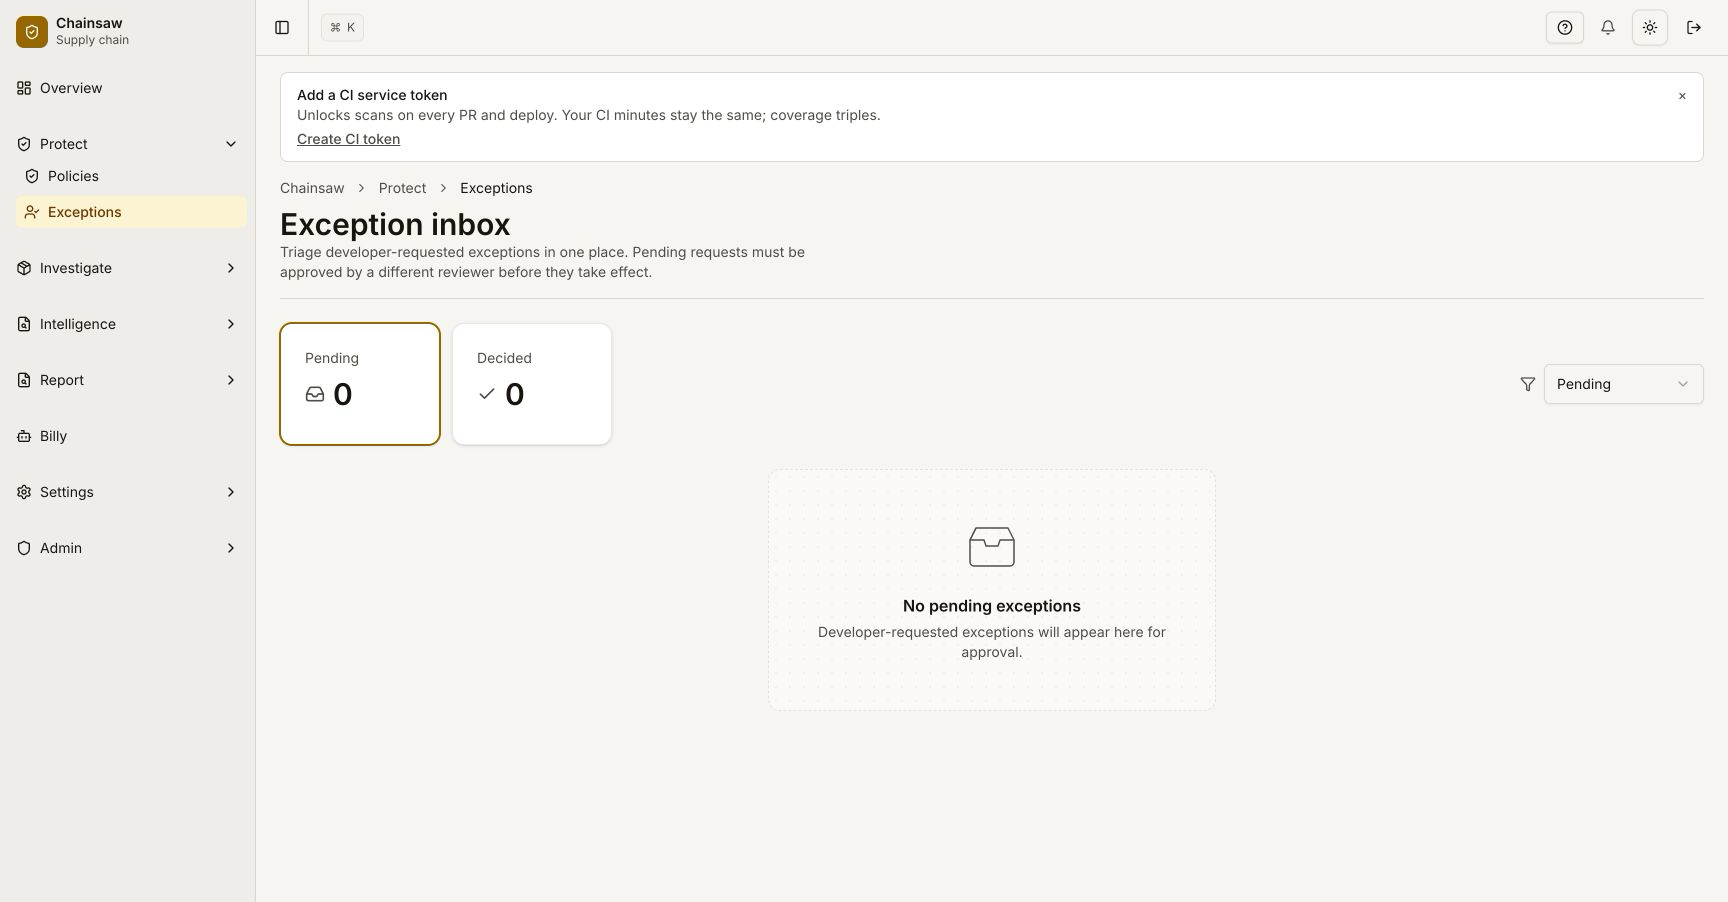
When a developer needs a blocked package, create a time-bound exception:
From the Violations Page
- Find the violation in the violations list
- Click Create Exception
- Set the details:
- Package: Pre-filled from the violation
- Version: Specific version or version range
- Expiry: 30, 60, or 90 days
- Reason: Document the business justification
As a Policy
For more control, create the exception as an Allow policy:
- Name:
Exception: lodash@4.17.20 (JIRA-1234) - Action: Allow
- Conditions: Package =
lodash, Version =4.17.20 - Scope: Specific client or group
- Precedence: Above the blocking policy but below malware blocks
Step 5: Exception Lifecycle Management
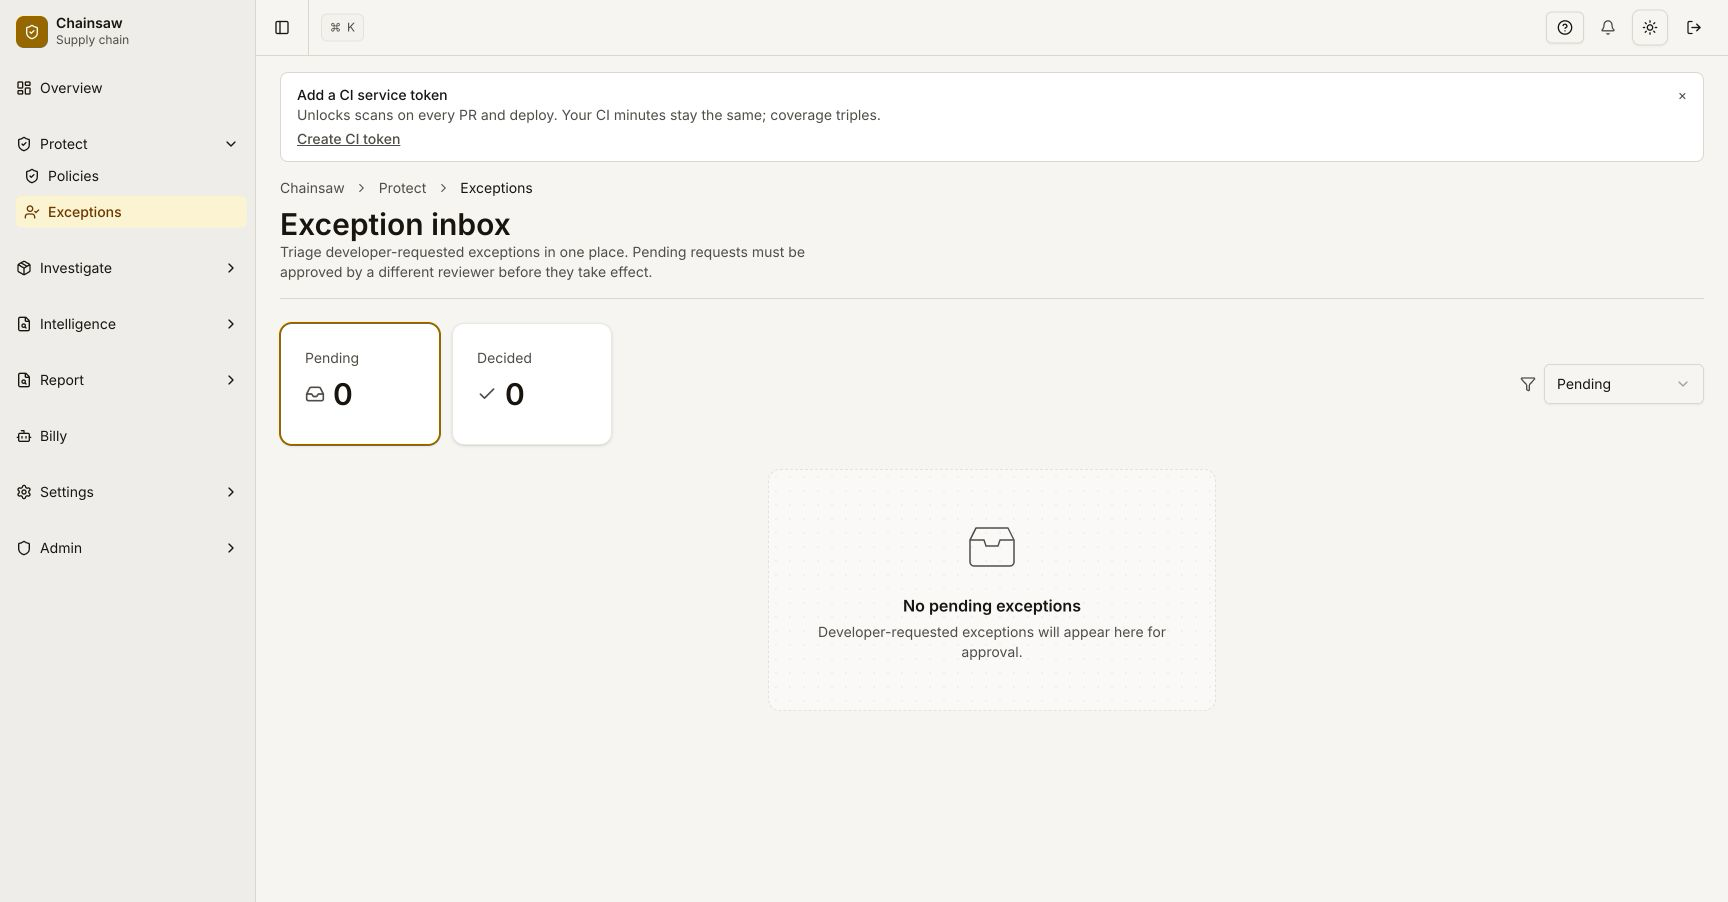
Track Active Exceptions
Monitor active exceptions from the Overview dashboard. The exceptions KPI shows how many are currently active.
Review Expiring Exceptions
Set a regular cadence (weekly or biweekly) to review:
- Exceptions approaching expiry
- Whether the underlying issue has been resolved (patched version available)
- Whether the exception should be renewed or removed
Automatic expiry reminders (T-7d / T-1d / T-0)
Chainsaw runs an idempotent reminder loop against the exceptions table. For every exception, three notifications fire automatically:
| Trigger | When | Audience |
|---|---|---|
| T-7d | Seven days before expiry | The owner email on the exception (or the CODEOWNERS-resolved team if blank) |
| T-1d | One day before expiry | Same recipient list |
| T-0 | At expiry, when the exception transitions from active to expired | Same recipient list, plus the policy admins group |
The dispatch is idempotent on (exception_id, milestone) so a control-plane restart never double-sends. Delivery uses your configured outbound webhook destinations — the same channels as violation notifications. There is no opt-out at the exception level; if you do not want a reminder, do not create the exception (or set the expiry to a date that aligns with your review cadence).
The view at /reports/exceptions/expiring shows everything currently in the seven-day window in one screen, sorted by remaining days, so the weekly review can happen against a single page rather than per-exception.
Exception Renewal vs Removal
| Scenario | Action |
|---|---|
| Patched version available | Remove exception, upgrade the package |
| No patch yet, risk accepted | Renew with new expiry and updated justification |
| Risk assessment changed | Remove exception, enforce the block |
| Package no longer needed | Remove exception, clean up BOM |
Step 6: Scoping Policies for Different Environments
Use policy scoping to apply different rules to different contexts:
By Client Type
Production (service-token):  Block CVSS >= 7.0
Development (end-user):      Quarantine CVSS >= 9.0 (more permissive)
By Repository
npm:     Block trust score < 40 (high attack surface)
maven:   Block trust score < 20 (more stable ecosystem)
By Client Group
frontend-team:  Block all non-MIT/Apache licenses
backend-team:   Allow LGPL (linking is acceptable)
Step 7: Testing Policy Changes
Before applying a new policy to production:
- Start with Monitor mode — The policy records
Flaggedaudit entries on every match but never returns a 403. See How to Enable Monitoring for a Single Policy. - Watch the violations view for a week — Check how many requests would be affected and which clients are hitting it.
- Review false positives — Create exceptions for legitimate packages before switching to Block.
- Switch to Block — Once you’re confident in the scope, change the policy’s mode to
block.
Common Anti-Patterns
| Anti-Pattern | Problem | Fix |
|---|---|---|
| Broad Allow at top | Overrides all blocks | Scope Allow policies to specific packages only |
| No default at bottom | Ambiguous behavior for unmatched requests | Add a catch-all Allow or Block at lowest precedence |
| Expired exceptions left active | Accumulating risk | Set expiry dates, review regularly |
| Copy-paste policies | Redundant rules, hard to maintain | Consolidate similar policies |
| Blocking without monitoring first | Developer disruption | Set mode: monitor on the policy first, measure impact, then flip to block |
| Flipping the global Blocking toggle off to test one policy | Disables enforcement on every Block policy | Use per-policy Monitor mode instead (tutorial 31) |
Changing a Block policy to allow to stop it blocking | Creates an explicit allow that bypasses other Block policies | Use monitor mode — it records matches without allowing anything through |
Next Steps
- How to Block Vulnerable Packages Using CVSS and EPSS — Create vulnerability blocking policies
- How to Monitor Violations and Respond to Blocked Packages — Handle violations from your policy stack
- How to Use Billy to Investigate and Draft Policies — Let Billy help design policies