How to Block Vulnerable Packages Using CVSS and EPSS Score Policies
Create policies with vulnerability conditions, set CVSS/EPSS thresholds, and choose between block and quarantine enforcement modes.
Overview
Chainsaw tracks vulnerability metadata (CVSS scores, EPSS scores, CVE identifiers) for every package that flows through the proxy. By creating policies with vulnerability conditions, you can automatically block or quarantine packages that exceed your organization’s risk threshold.
CVSS (Common Vulnerability Scoring System) measures the severity of a vulnerability (0-10). EPSS (Exploit Prediction Scoring System) estimates the probability of exploitation in the wild (0-1).
Prerequisites
- Admin or Manager role in Chainsaw
- At least one repository configured and receiving traffic
- Basic understanding of your organization’s vulnerability risk tolerance
Step 1: Navigate to the Policy Manager
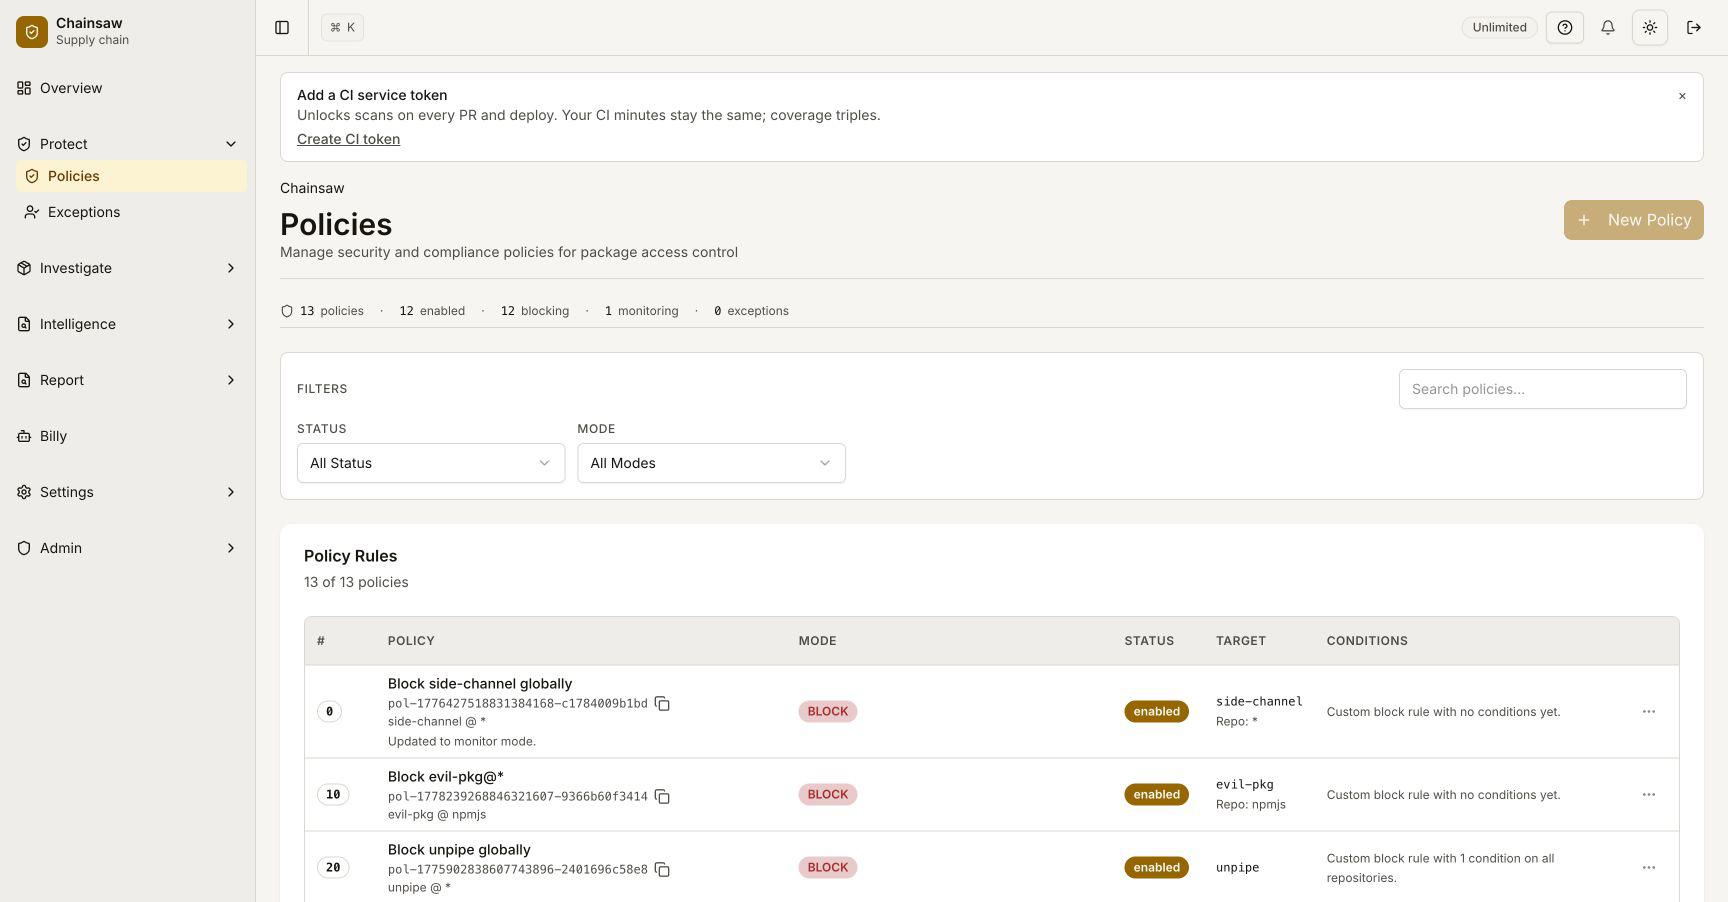
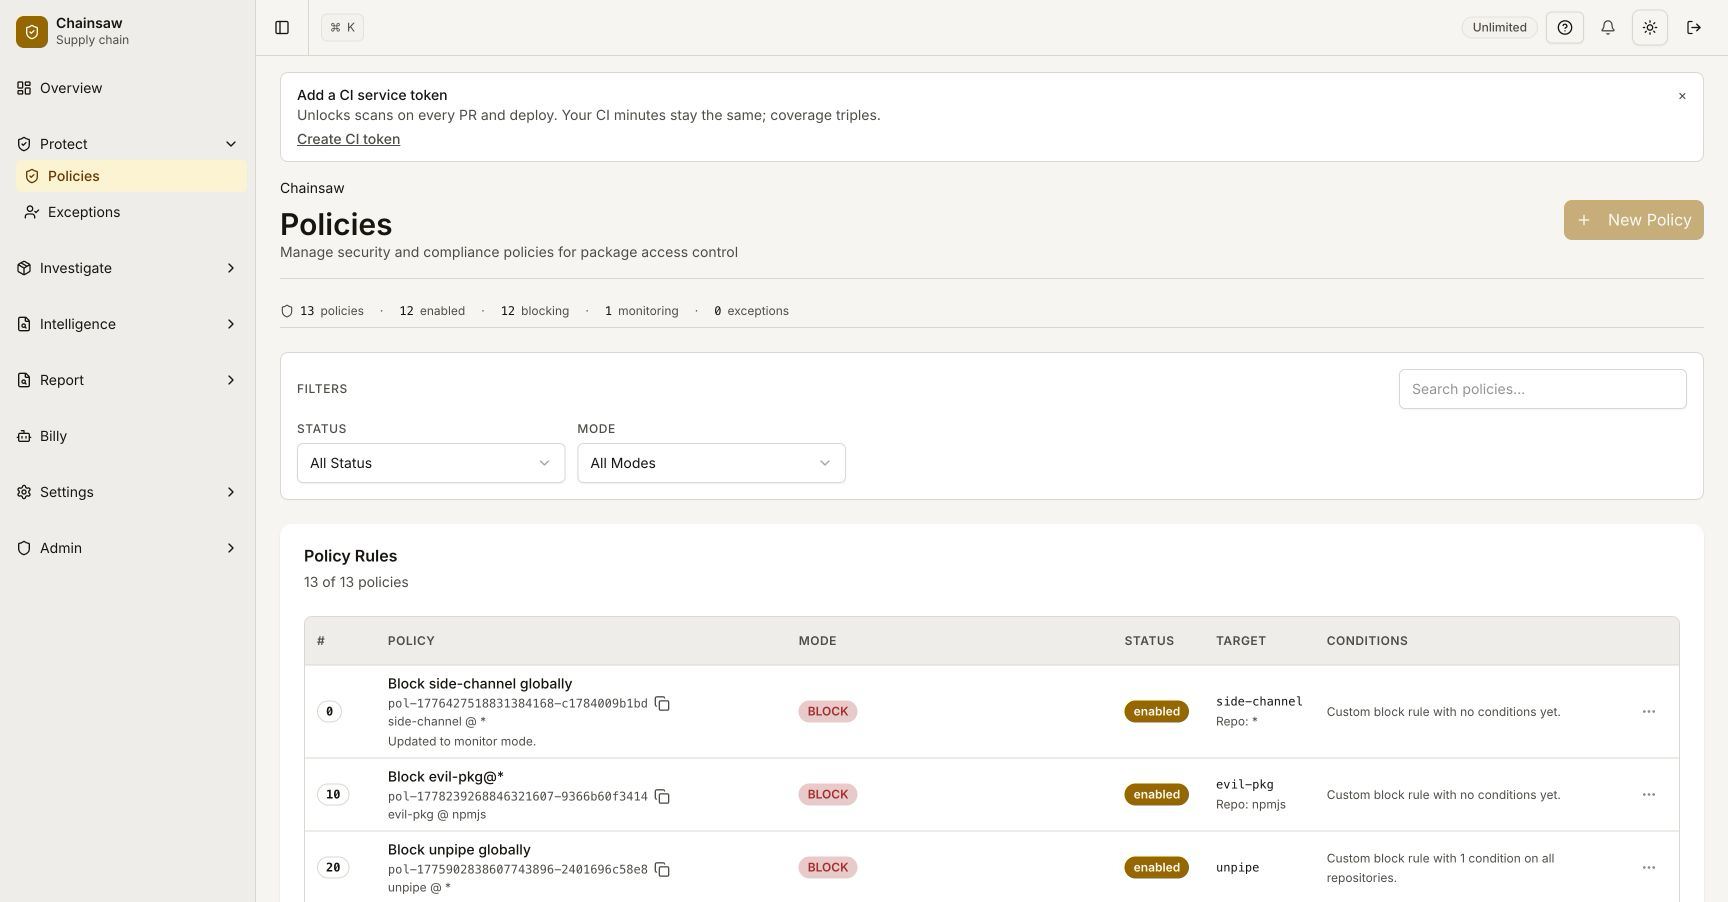
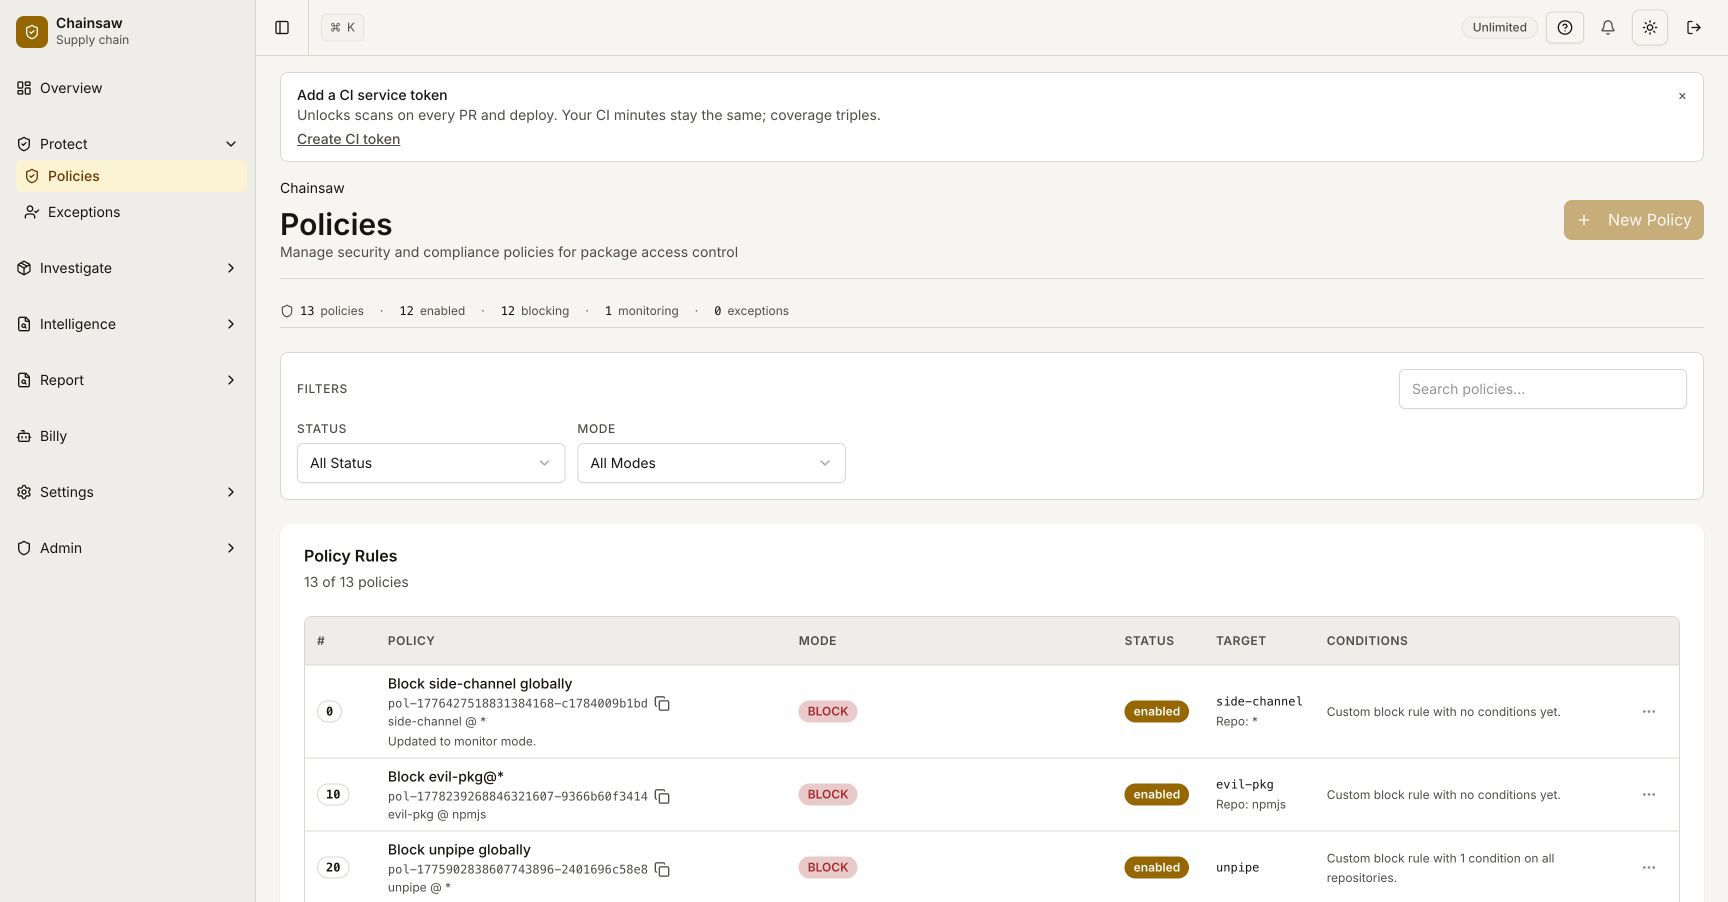
Click Policies in the sidebar. This page shows all active policies ordered by precedence.
Step 2: Create a New Policy
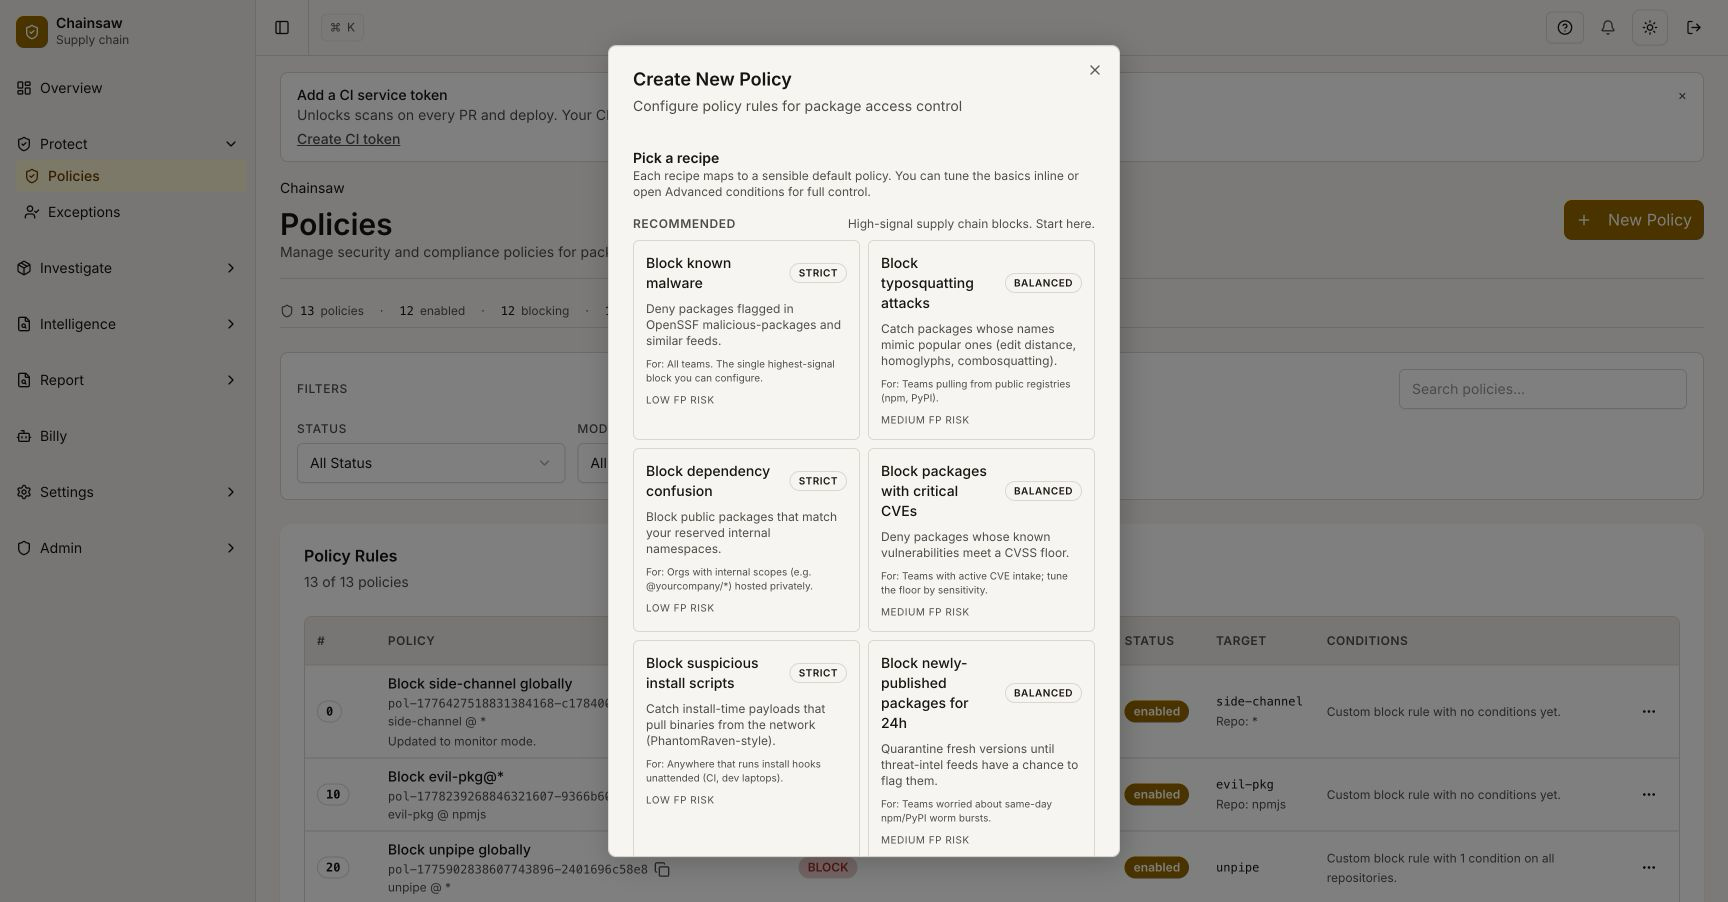
Click Create Policy.
Basic Configuration
- Name — Give it a descriptive name (e.g.,
Block Critical Vulnerabilities) - Action — Choose the enforcement mode:
- Block — Reject the package download entirely
- Quarantine — Flag the package but allow download (for review)
- Allow — Explicitly permit (useful for exceptions)
- Enabled — Toggle on
Step 3: Add Vulnerability Conditions
Scroll to the Conditions section. Add vulnerability-based conditions:
CVSS Score Range
Set a minimum CVSS score threshold. Any package with a vulnerability scoring at or above this threshold will trigger the policy.
- Critical: CVSS >= 9.0
- High: CVSS >= 7.0
- Medium: CVSS >= 4.0
Condition: CVSS Score
Operator: Greater than or equal to
Value: 9.0
EPSS Score Range
Add an EPSS condition to block packages with a high probability of exploitation:
Condition: EPSS Score
Operator: Greater than or equal to
Value: 0.5
KEV-Pinned Vulnerabilities
The CISA Known-Exploited-Vulnerabilities catalog is the highest-confidence “you definitely care about this” signal available. Use the vulnerability.kev_pinned condition to gate exclusively on KEV membership — no CVSS or EPSS thresholds, just a boolean.
Condition: vulnerability.kev_pinned
Operator: equals
Value: true
A kev_pinned == true && action: Block rule with high precedence is the simplest defensible “no exploited-in-the-wild CVEs in production” policy you can ship. CVSS/EPSS layered underneath catches the long tail.
Route Violations to Owners with ActionNotifyOwner
In addition to Block, Quarantine, and Allow, the policy engine supports ActionNotifyOwner. When a rule with this action fires, Chainsaw resolves the manifest’s nearest CODEOWNERS entry and posts a notification (Slack / Teams / PagerDuty / email, depending on your destinations) to the owning team — without blocking the install.
This is the right action for “we want the team that owns this dependency to know they pulled in a CVSS 8.6, but we are not going to break their build today.” Pair it with a follow-up Block rule scheduled for two weeks later, and the result is a graduated rollout where teams have notice before enforcement bites.
See How to Route Violations to Owners with ActionNotifyOwner for the full configuration.
Step 4: Configure Policy Scope
Define which packages this policy applies to:
- All repositories — Applies organization-wide
- Specific repositories — Target only npm, PyPI, or other registries
- Specific clients — Apply only to certain teams or pipelines
- Client groups — Apply to groups of credentials
Step 5: Set Policy Precedence
Policies are evaluated in precedence order (first match wins). Drag your new policy to the correct position:
- Higher precedence = evaluated first
- An “Allow” policy with higher precedence can override a “Block” policy
Step 6: Save and Verify
Click Save Policy. The policy takes effect immediately for all new package requests.
Test the Policy
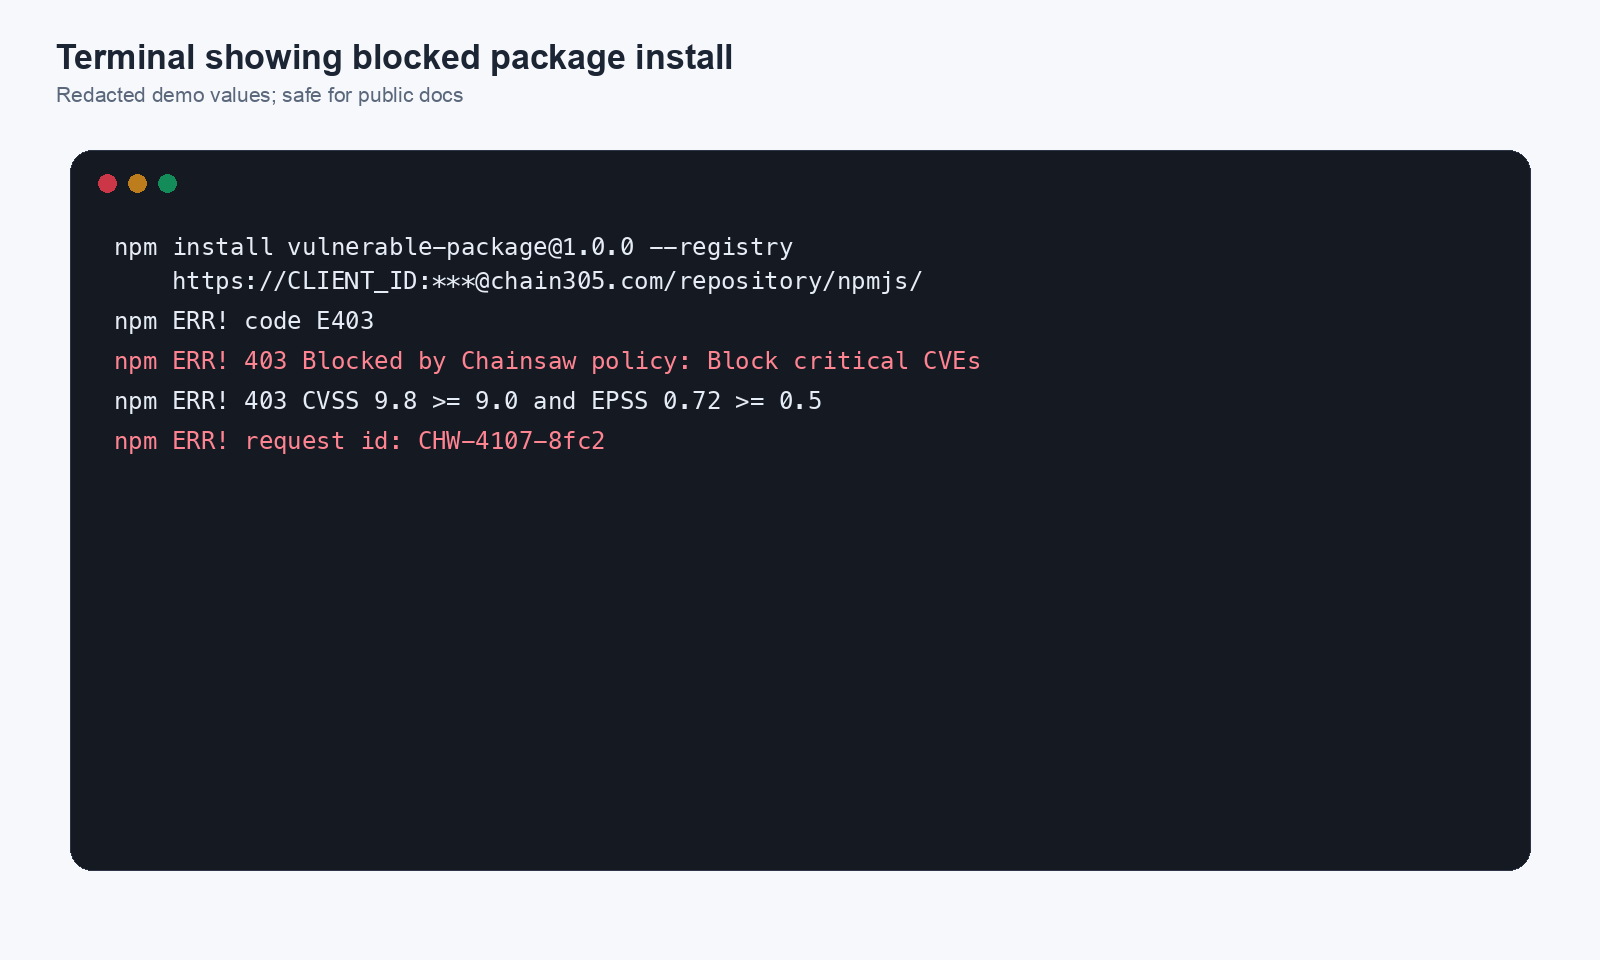
Try installing a package with known vulnerabilities:
npm install vulnerable-package@1.0.0 \
  --registry https://CLIENT_ID:CLIENT_SECRET@chain305.com/chainproxy/repository/@default/npmjs/
If the package has vulnerabilities exceeding your threshold, you should see a blocked response.
Step 7: Monitor Violations
Navigate to the Overview page to see violations appear in the metrics:
Example Policies
Block All Critical Vulnerabilities
| Setting | Value |
|---|---|
| Name | Block Critical CVEs |
| Action | Block |
| Condition | CVSS >= 9.0 |
| Scope | All repositories |
Quarantine High-Exploitation Packages
| Setting | Value |
|---|---|
| Name | Quarantine Likely Exploits |
| Action | Quarantine |
| Condition | EPSS >= 0.7 |
| Scope | All repositories |
Block High + Likely Exploited
| Setting | Value |
|---|---|
| Name | Block High-Risk Packages |
| Action | Block |
| Conditions | CVSS >= 7.0 AND EPSS >= 0.3 |
| Scope | Production service tokens only |
Next Steps
- How to Detect and Prevent Typosquatting Attacks — Protect against name confusion attacks
- How to Monitor Violations and Respond to Blocked Packages — Handle violations and create exceptions
- How to Manage Policy Precedence and Exception Workflows — Advanced policy ordering