How to Monitor Supply Chain Violations and Respond to Blocked Packages
Use the violations dashboard, filter by severity, review violation history, and create exceptions for approved packages.
Overview
When Chainsaw blocks a package due to a policy violation, it records the event with full context — the package, version, policy that triggered, client that requested it, and the severity. This tutorial covers how to monitor violations, investigate them, and create exceptions when a blocked package is actually needed.
Prerequisites
- At least one active blocking policy (see Tutorial 04)
- Admin or Manager role in Chainsaw
Step 1: View Violations on the Dashboard
Navigate to the Overview page. The top-level KPIs include:
- Total violations in the selected time range
- Violations by severity (critical, high, medium, low)
- Violation trend chart
Filter by Time Range
Use the time range selector to view violations over different periods:
- Last 7 days
- Last 30 days
- Last 90 days
Step 2: Investigate Individual Violations
Click into a violation to see the full context:
| Field | Description |
|---|---|
| Package | Name and version that was blocked |
| Repository | Which registry the request targeted |
| Policy | The policy rule that triggered the block |
| Client | The credential that made the request |
| Severity | Critical, high, medium, or low |
| Timestamp | When the violation occurred |
Step 3: Review Violation History
For packages that have been blocked multiple times, review the history to understand patterns:
- Is the same client repeatedly hitting this block?
- Is the package being requested across multiple teams?
- Has the vulnerability been patched in a newer version?
Step 4: Filter Violations
Use the filters to narrow down violations:
- By Repository — Focus on a specific ecosystem (e.g., npm only)
- By Client — See what a specific team or pipeline is hitting
- By Severity — Focus on critical/high violations first
Step 5: Create an Exception
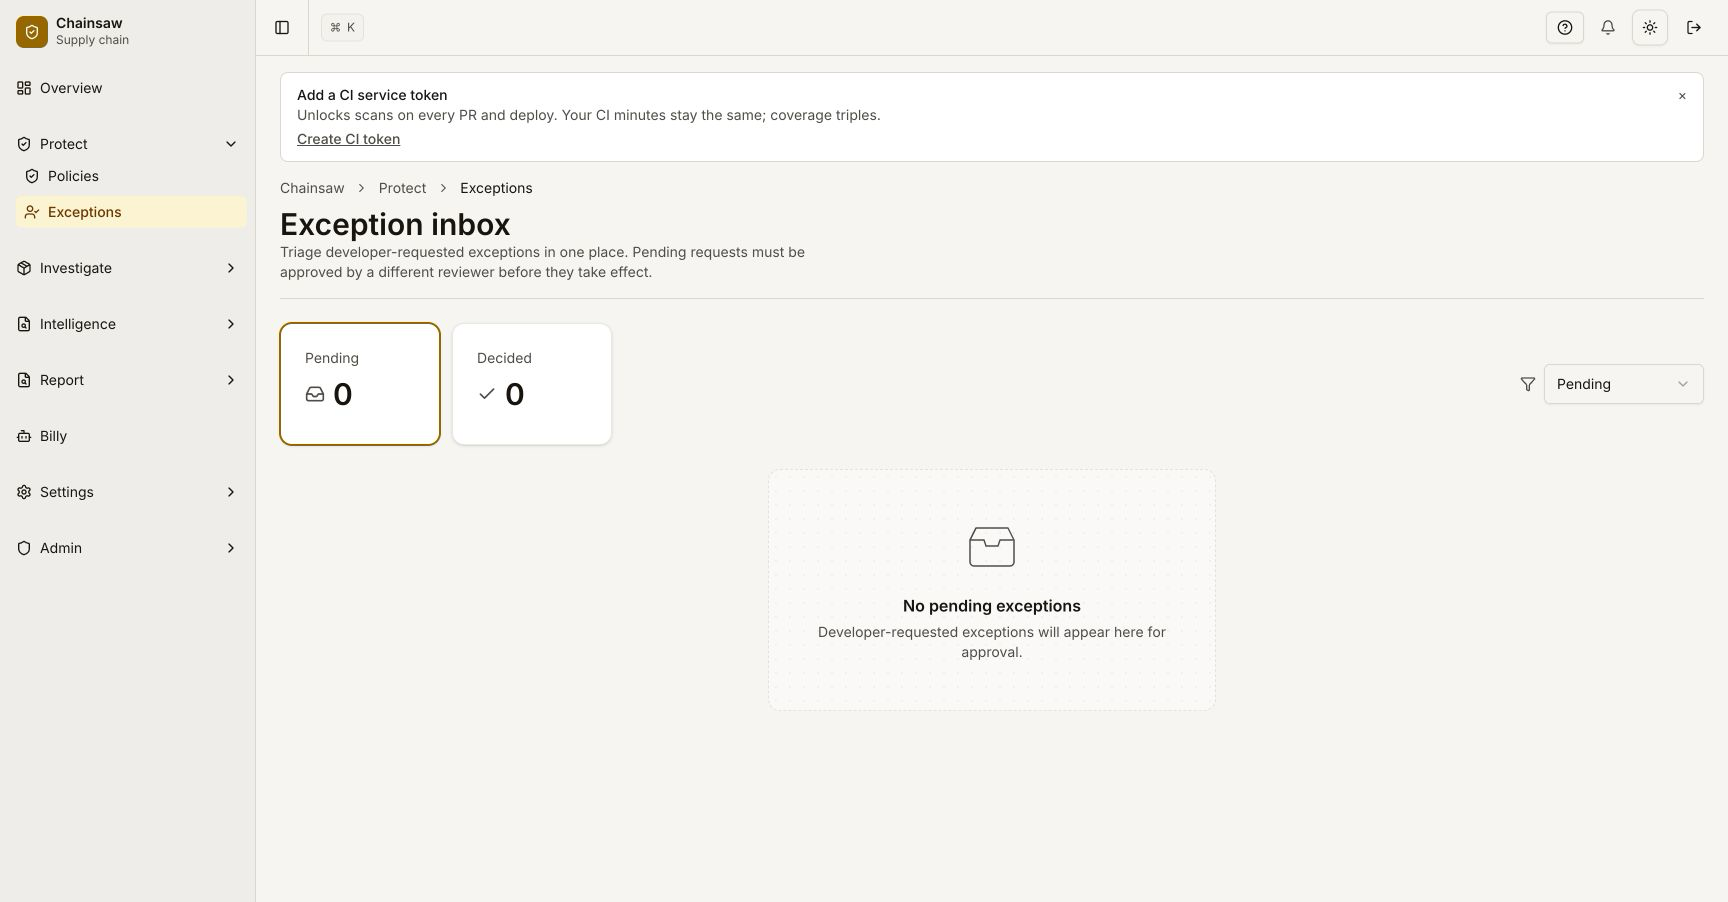
If a blocked package is actually needed (e.g., a vulnerability has been assessed and accepted, or the block is a false positive):
- Navigate to the violation detail
- Click Create Exception (or navigate to Policies)
- Configure the exception:
- Package: The specific package name and version
- Expiry: Set a time limit (e.g., 30 days for temporary approvals)
- Reason: Document why this exception is being granted
Step 6: Track Exceptions
Monitor active exceptions from the Overview dashboard. The Exceptions KPI shows how many packages currently have active exceptions.
Step 7: Respond to Blocked Packages
When a developer reports that a package install is failing:
- Check the Traffic page — Find the blocked request by client ID and timestamp
- Identify the policy — See which rule triggered the block
- Assess the risk — Review the vulnerability details, trust score, and provenance
- Take action:
- Upgrade: Guide the developer to a patched version
- Exception: Create a time-bound exception if the risk is accepted
- Policy change: Adjust the policy if the threshold is too aggressive
Communication Template
Your install of [package]@[version] was blocked by Chainsaw.

Reason: [Policy name] — [brief explanation]
CVE(s): [CVE IDs if applicable]
CVSS: [score]

Options:
1. Upgrade to [package]@[safe version] which resolves [CVE]
2. Request an exception (requires security team approval)

Contact: [security team channel]
Step 8: Use Billy for Violation Analysis
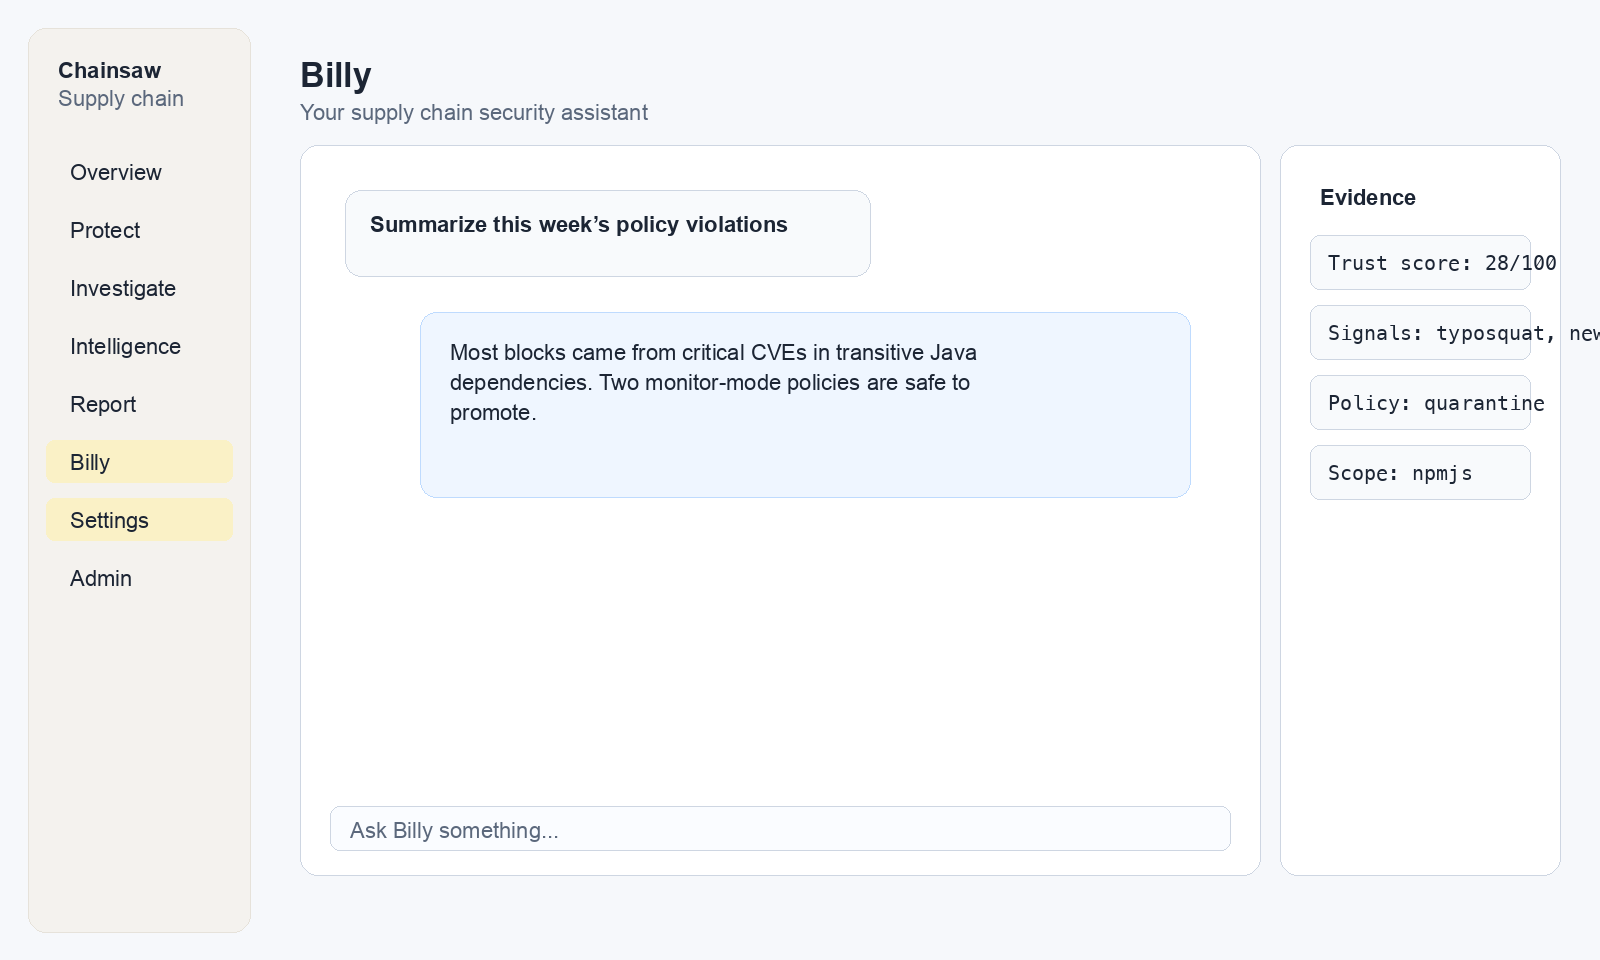
Ask Billy to help analyze violation patterns:
"What are the most frequently blocked packages this week?"
"Show me all critical severity violations in the last 7 days"
"Which clients have the most policy violations?"
Next Steps
- How to Manage Policy Precedence and Exception Workflows — Advanced exception management
- How to Use the Dashboard to Track Supply Chain Health KPIs — Broader monitoring context
- How to Use Audit Logs to Track Consumption — Full audit trail