How to Set Up Chainsaw as Your Organization's Package Proxy
Walk through initial deployment, creating a workspace, configuring upstream repositories, and routing your first package install through Chainsaw.
Overview
Chainsaw is a pull-through caching proxy between your developers and upstream package registries. Route every install through it and each package is evaluated against your policy before it enters a build — blocked or allowed on the install path, with the artifacts cached on your network. Start in monitor mode; flip to enforce once you’ve seen the data.
This tutorial walks you through deploying Chainsaw, creating your first workspace, and verifying that packages flow through the proxy.
Prerequisites
- A server or VM with Docker (with the Compose plugin) installed
- Network access to upstream registries (registry.npmjs.org, pypi.org, etc.)
- A domain or IP address your developers can reach
- Admin credentials for initial setup (Chainsaw generates the first one for you)
Step 1: Deploy Chainsaw with Docker Compose
Chainsaw ships a ready-to-run docker-compose.yml that brings up the database service and the published chain305/chainsaw-firewall image, wires them together, and exposes the dashboard on :8080 and the package-manager proxy on :8443.
docker-compose.yml. The free, open-source Chainsaw CLI lives in its own repo at github.com/chain305/chainsaw-core — it has no server of its own; you point it at a running proxy.# The enterprise server ships as a docker-compose bundle provided with your
# Chainsaw subscription. Unpack the bundle, then from its directory:
cp .env.example .env
docker compose up -d
Once the containers are healthy, fetch the auto-generated admin password:
docker compose exec chainsaw-proxy cat /data/generated_password
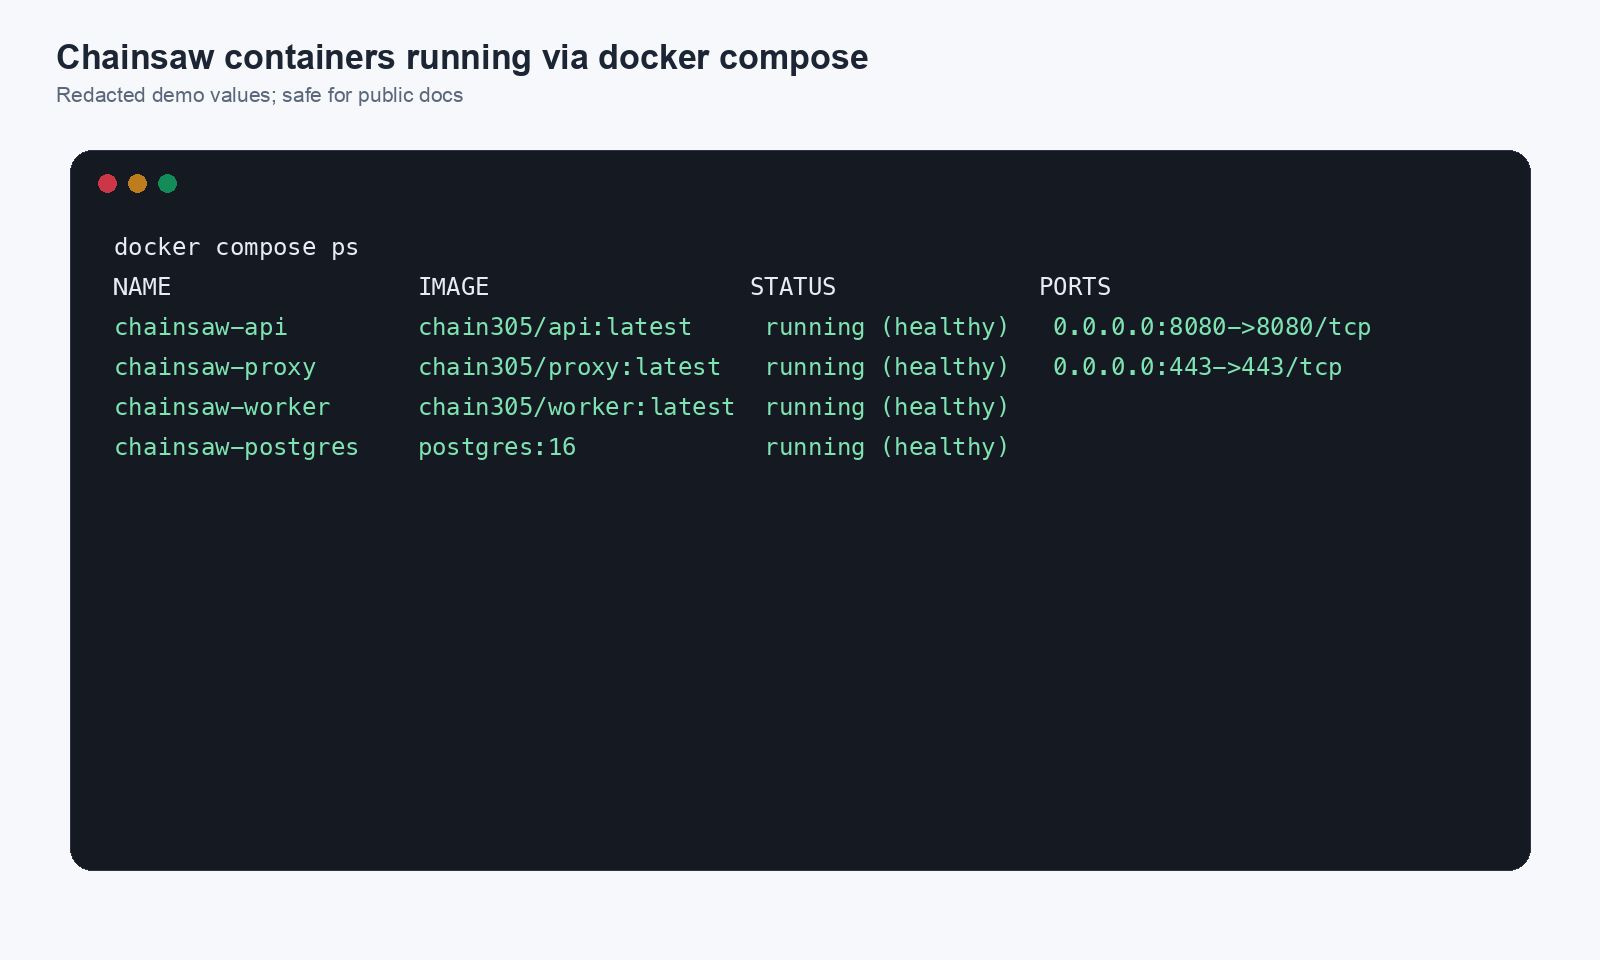
Common tweaks (base path, TLS, S3/Redis/NATS scaling knobs) live in docker-compose.override.yml.example — rename it to docker-compose.override.yml and uncomment what you need rather than editing the base file.
Step 2: Create Your Workspace
Open your browser and navigate to your Chainsaw instance.
https://chain305.com/chainsaw/signup
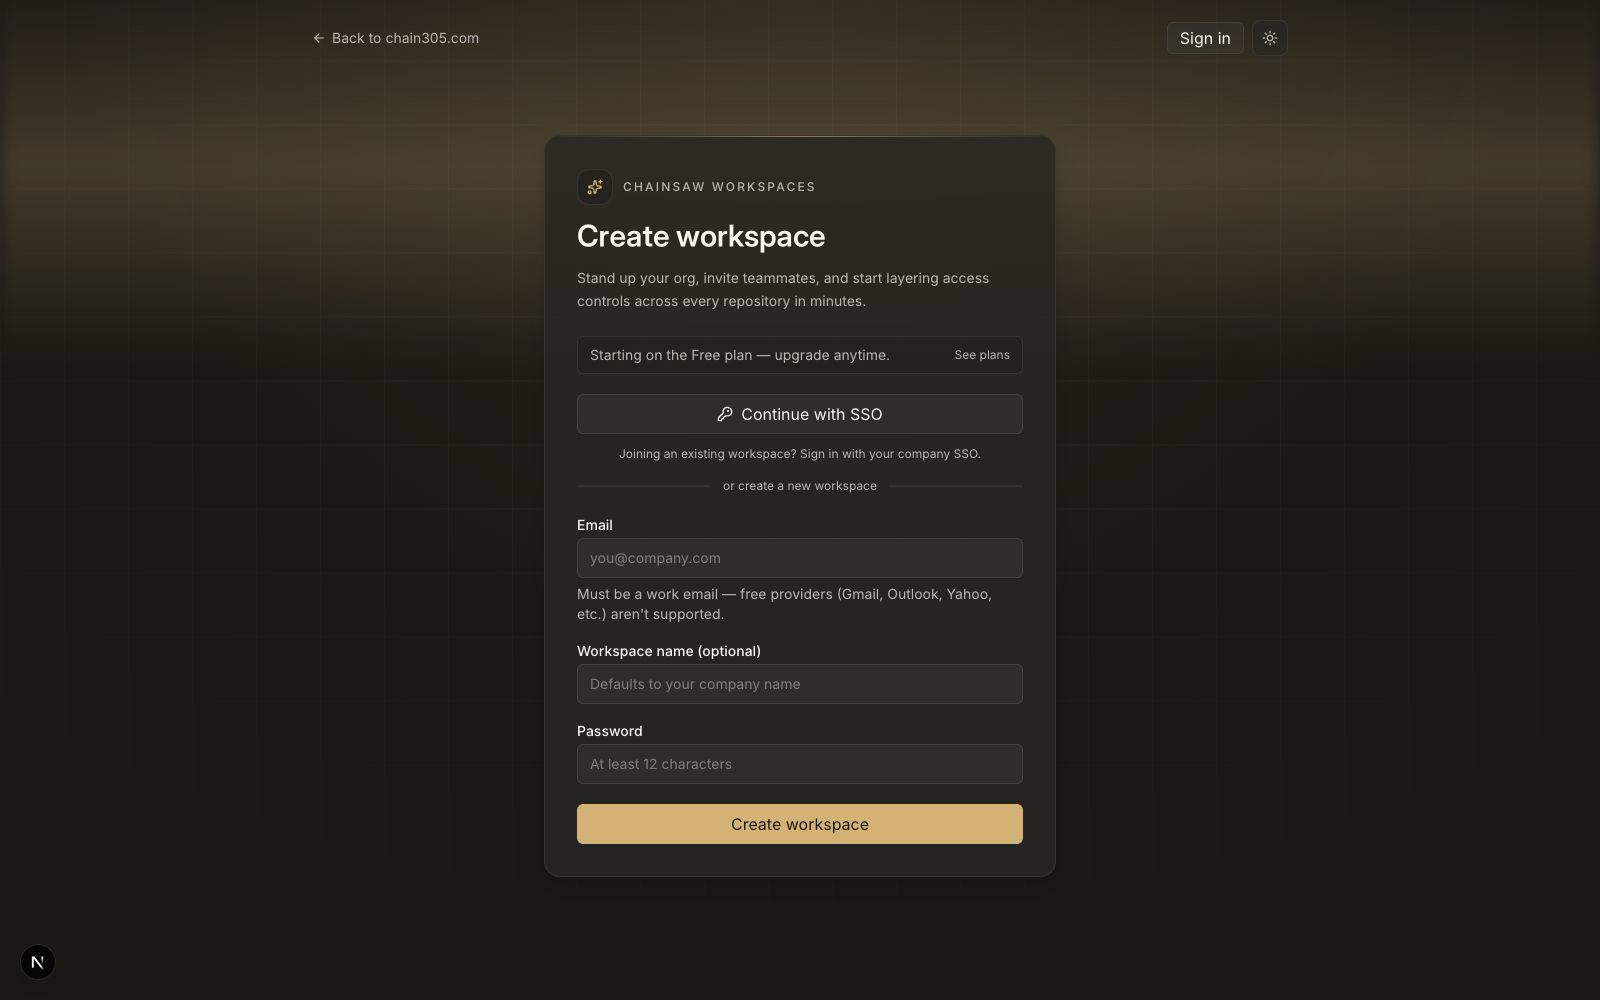
- Enter your organization name
- Set your admin email and password
- Click Create Workspace
Step 3: Verify Default Repositories
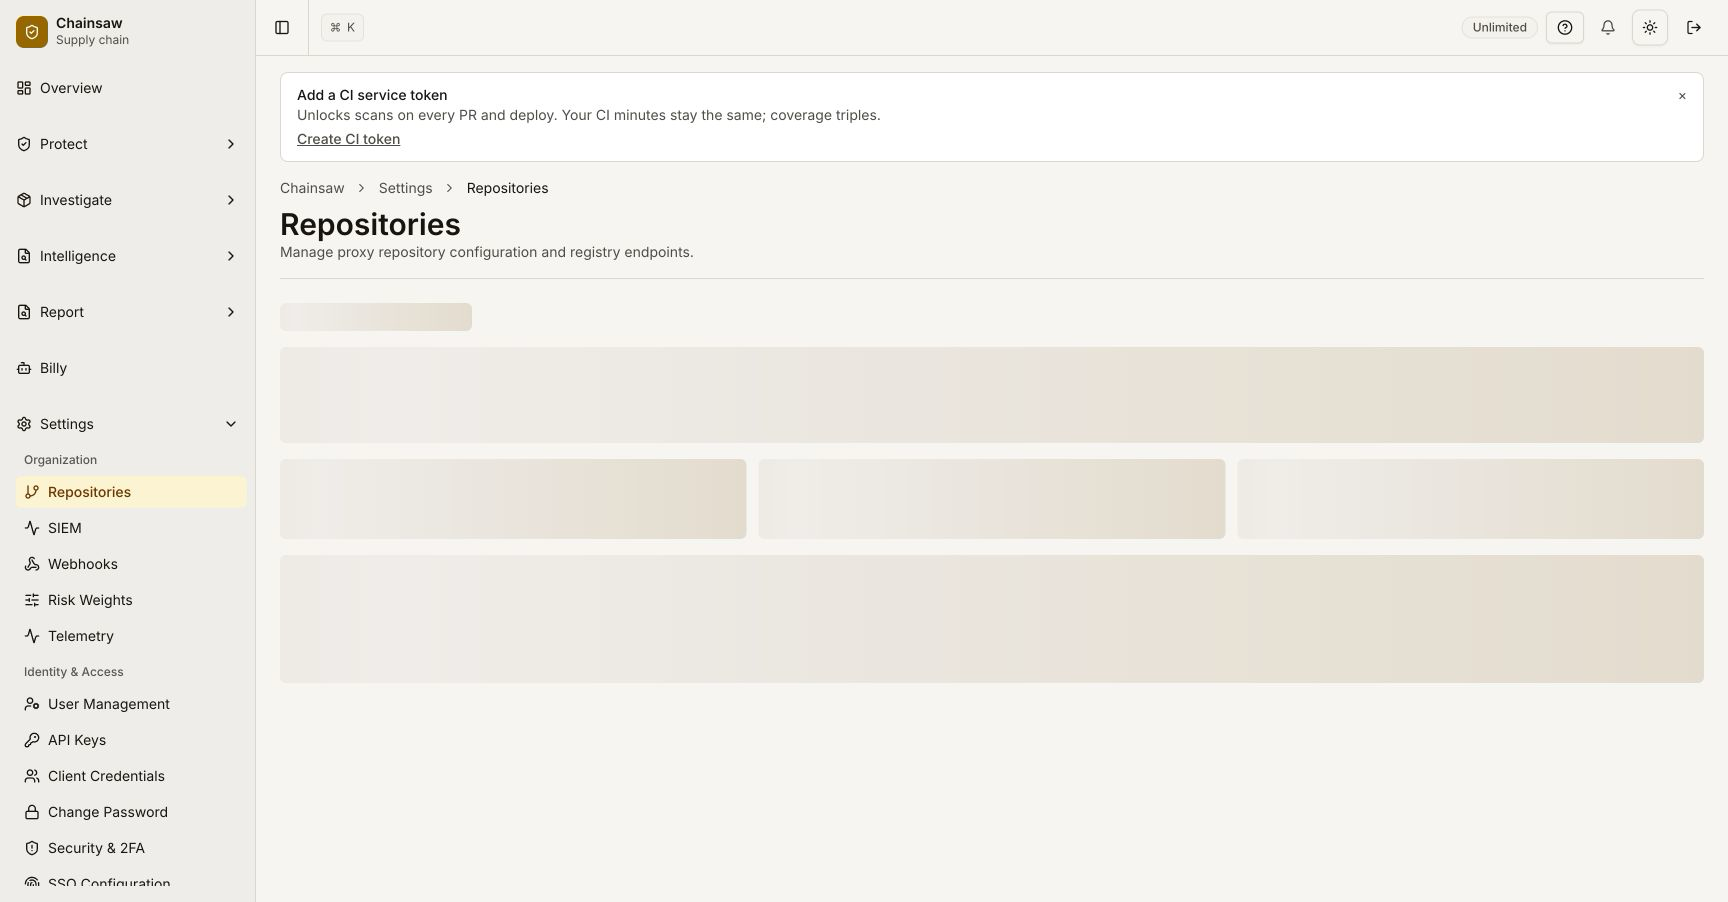
After logging in, navigate to Repositories in the sidebar. Chainsaw ships with pre-configured upstream mirrors for popular registries:
| Repository | Upstream | Format |
|---|---|---|
| npmjs | registry.npmjs.org | npm |
| pypi | pypi.org | pip |
| maven-central | repo1.maven.org | Maven |
| nuget-official | api.nuget.org | NuGet |
| crates-io | crates.io | Cargo |
| packagist | packagist.org | Composer |
| gomod | proxy.golang.org | Go |
| docker-hub | registry-1.docker.io | Docker |
| rubygems-official | rubygems.org | RubyGems |
Step 4: Create Your First Client Credential
Navigate to Access in the sidebar and click Create Credential.
- Set a name (e.g.,
dev-team) - Choose the client type: End User
- Select which repositories this credential can access
- Click Create
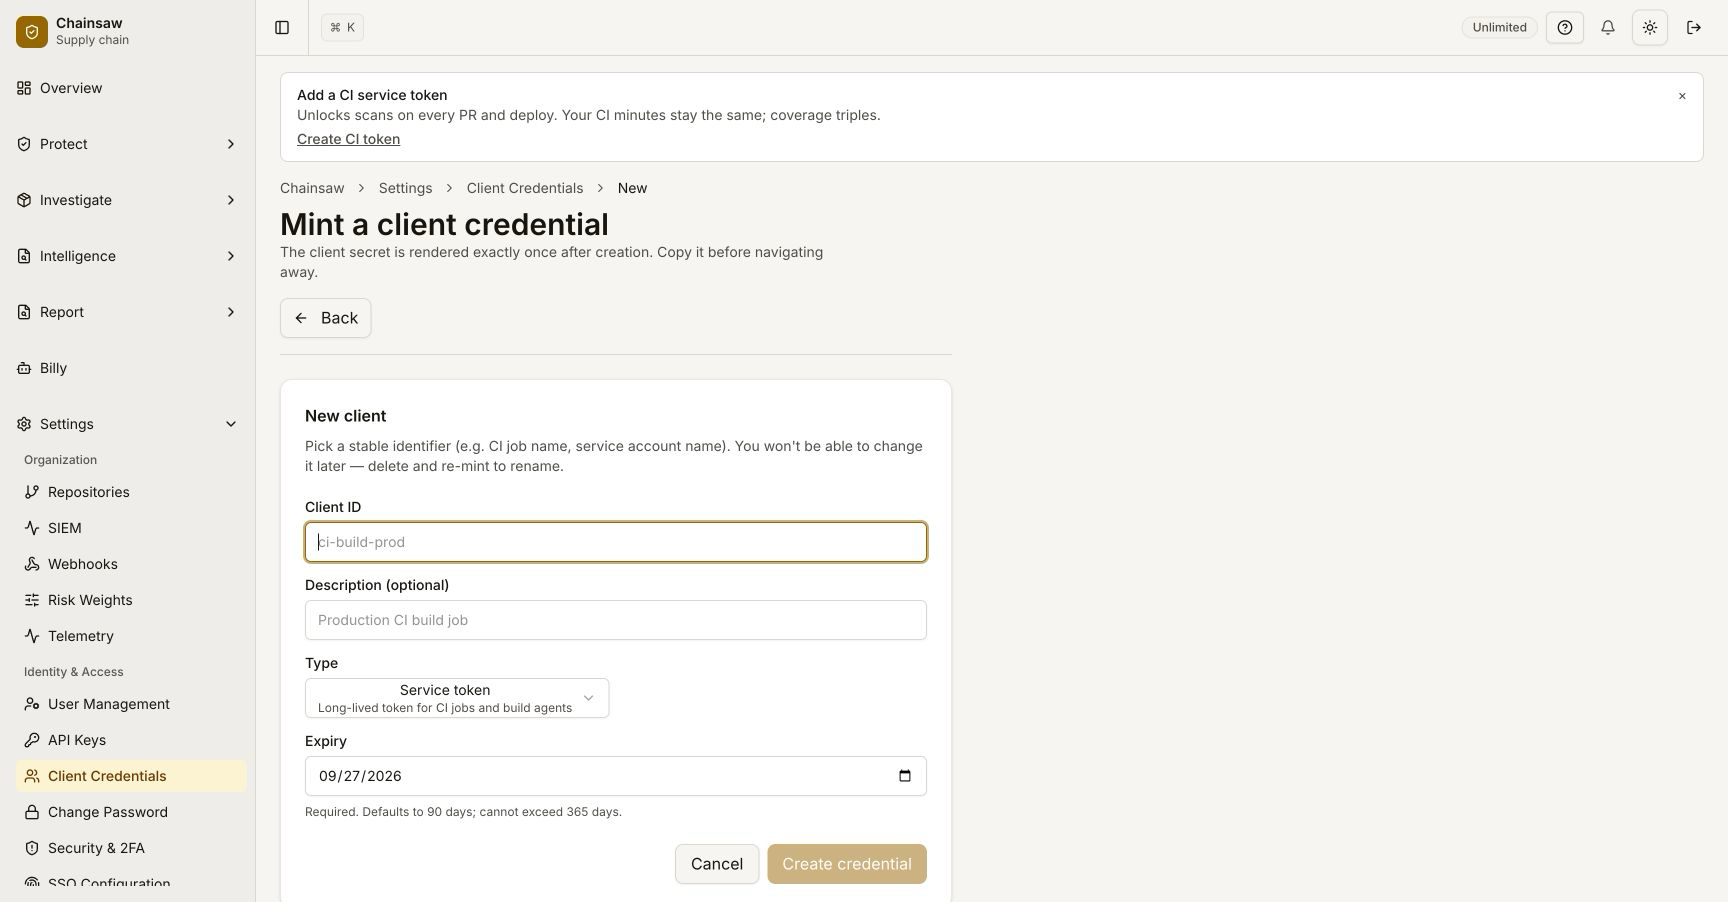
Copy the generated Client ID and Client Secret — you’ll need these to configure your package manager.
Step 5: Route Your First Package Install
Test that the proxy works by installing a package through Chainsaw. For npm:
npm install lodash \
  --registry https://CLIENT_ID:CLIENT_SECRET@chain305.com/chainproxy/repository/@default/npmjs/
For pip:
pip install requests \
  --index-url https://CLIENT_ID:CLIENT_SECRET@chain305.com/chainproxy/repository/@default/pypi/simple/
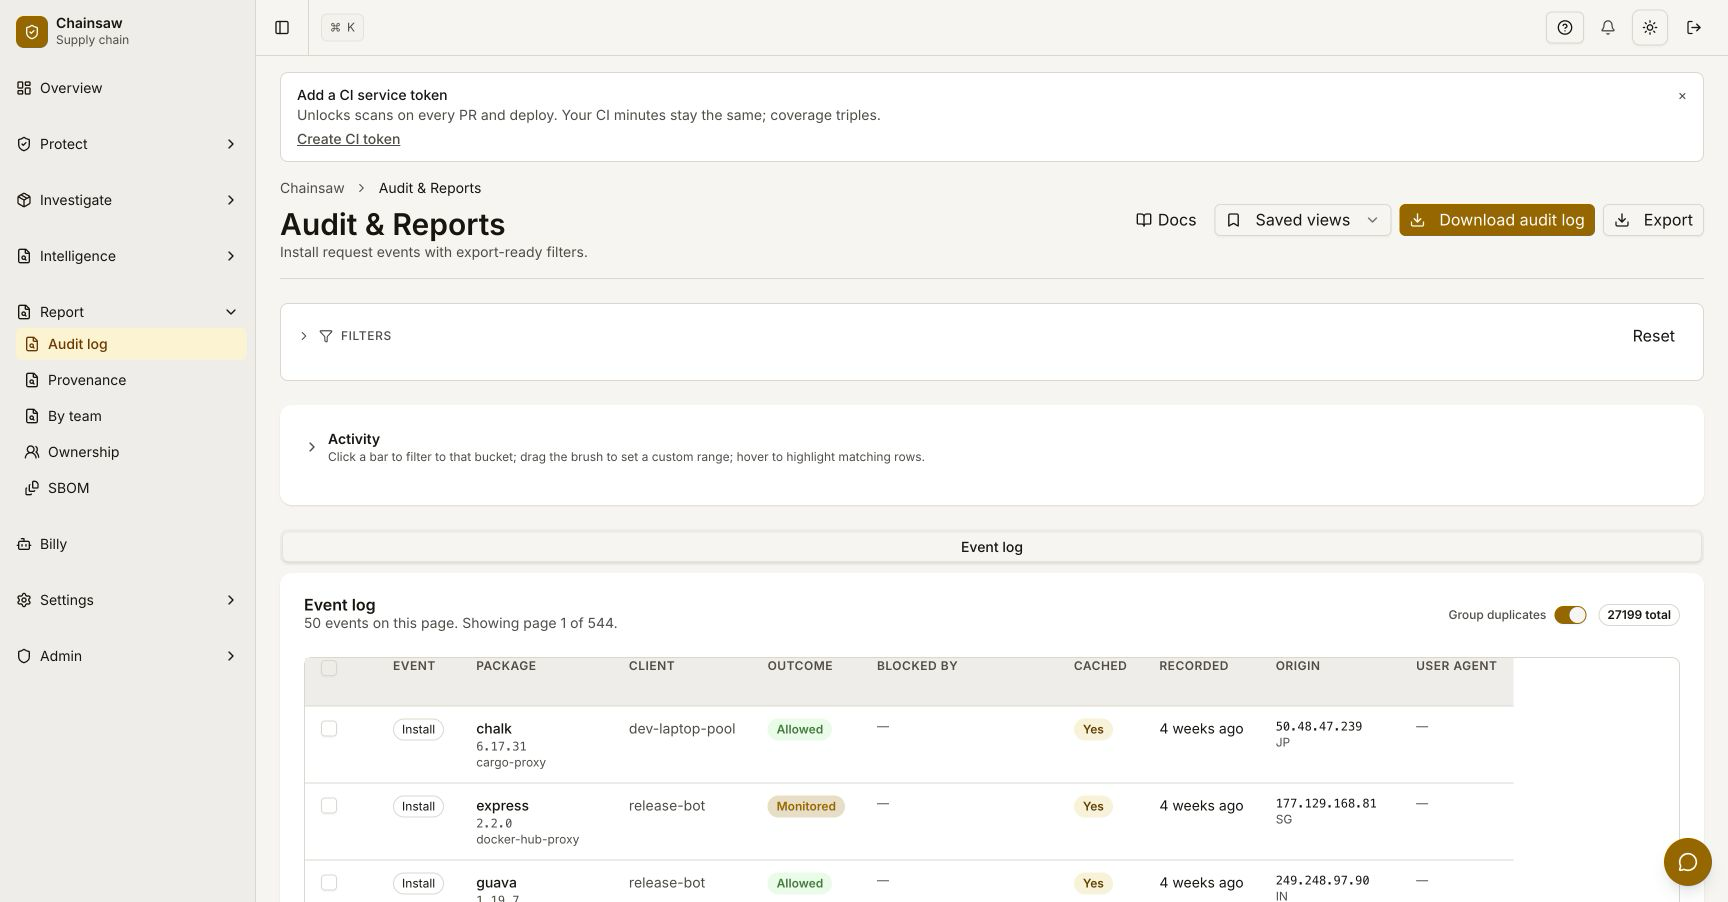
Step 6: Verify in the Dashboard
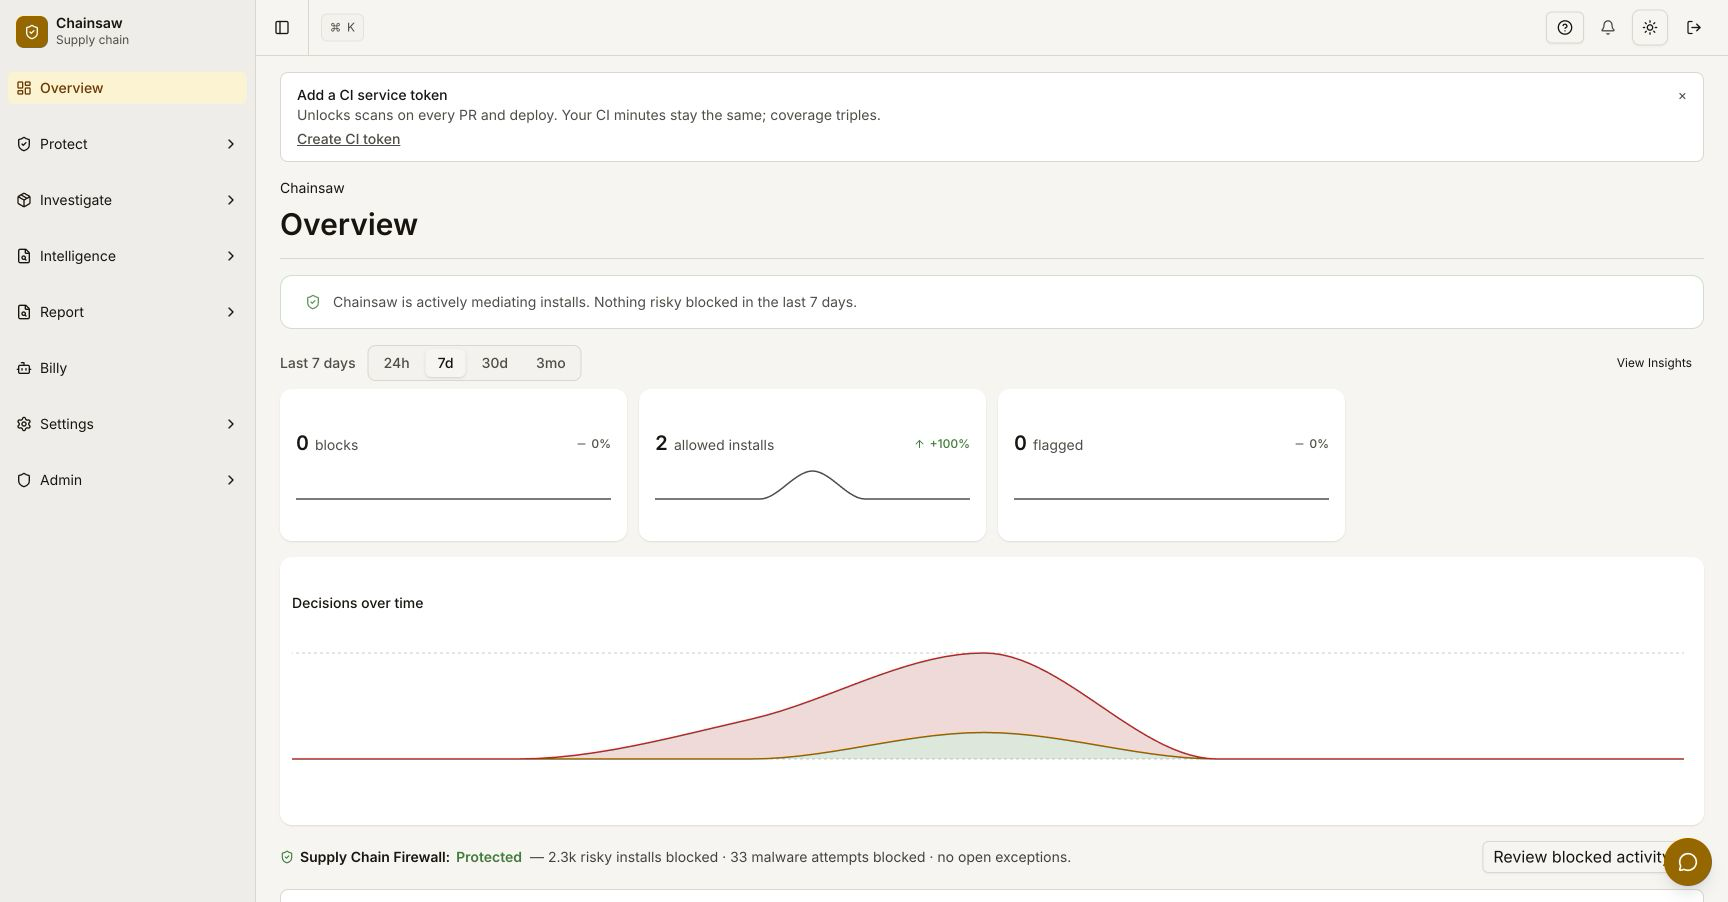
Navigate to the Overview page. You should see:
- Total requests incrementing
- Cache hit ratio starting to build
- The installed package appearing in the event feed
Next Steps
- How to Configure Your Package Manager to Use Chainsaw — Set up permanent proxy configuration for all ecosystems
- How to Create and Manage Client Credentials — Advanced credential management with expiry and scoping
- How to Block Vulnerable Packages Using CVSS and EPSS Score Policies — Start enforcing security policies